Content can also be renamed using Dashboards as code. However, the rename methods in this doc require fewer steps and will automatically respect the right syntax for different field types.Chart names and descriptions will not be updated using these rename workflows. If you want to update those in bulk, we recommend using Dashboards as code.
Rename in Lightdash
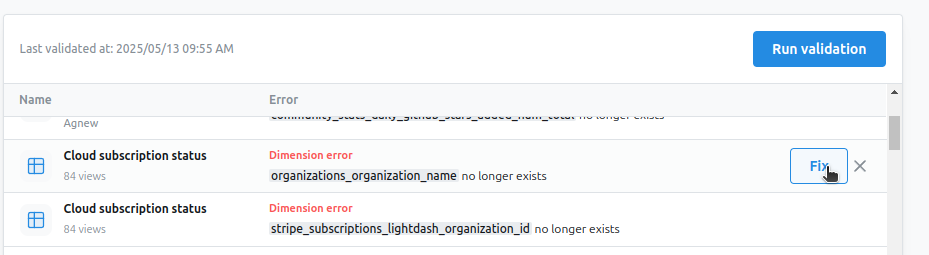
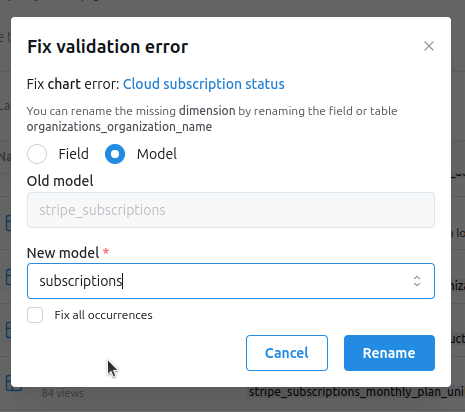
If you change field or table names in dbt that are being used in Lightdash, you will receive validation errors. You can fix these directly on the validation page by renaming references in the broken charts. You can easily access the validation page by clicking on the bell on the navigation bar. Read the validation docs here.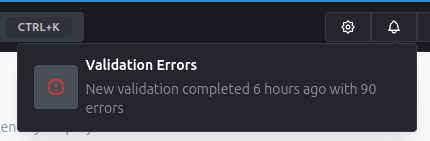
Rename in the CLI
The Lightdash CLI offers an alternative and more flexible approach to renaming models or fields across your project. This is a more advanced option than the UI and affects all the content in the project. The CLI will also allow you to rename content before changes happen to dbt.Important CLI callouts
- Renaming is project-wide by default, but can be scoped to a specific model using the
--modeloption. - Always use
--dry-runfirst to understand the impact of your changes. - You can use
--liston your actual run to get a full list of everything that was updated. - Only lowercase letters (a-z) and underscores
_are allowed in field and table names.
Example CLI Workflow
This is a sample of how you can take the most from this feature, when renaminig content on your dbt project.- Rename a field in your dbt project YML file:
user_idbecomescustomer_id. - Create a preview environment to test those changes.
- Existing charts will fail, you can go into validation to confirm which ones are affected.
- Run
lightdash rename --type field --from user_id --to customer_id -p <preview-project-id> --dry-runto list the affected charts. - If you are happy with the changes, run rename without
--dry-run. - Confirm all charts are referencing new fields (they might still error if you haven’t updated your warehouses using dbt run).
- Merge the code, run dbt, then run
lightdash rename --type field --from user_id --to customer_id -p <production-project-id> --liston your main project. - If you have charts/dashboards as code in your dbt project, run
lightdash downloadto update them with the renamed fields.
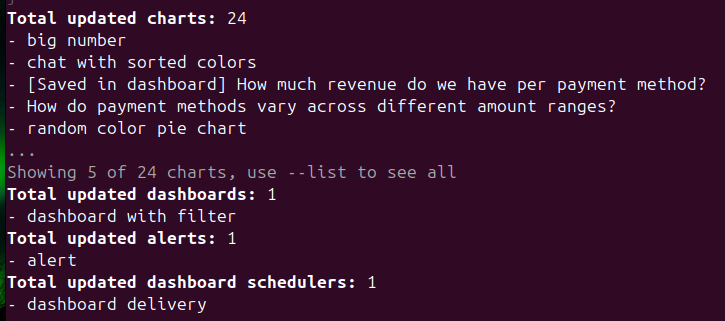
- The
--listoption gives you a full list of content that was changed.