🛠 This page is for engineering teams self-hosting their own Lightdash instance. If you want to use the GitHub integration, go to the dbt projects guide.
Create a new Github app
Go to app settings in Github, either organization or account developer settings and clickNew Github App
- Set the app name: must be unique across Github
- Add a description
-
Homepage URL: e.g.
https://lightdash.com -
Callback URL:
https://<your-domain>/api/v1/github/oauth/callback -
Enable
Expire user authorization tokens -
Enable
Request user authorization (OAuth) during installation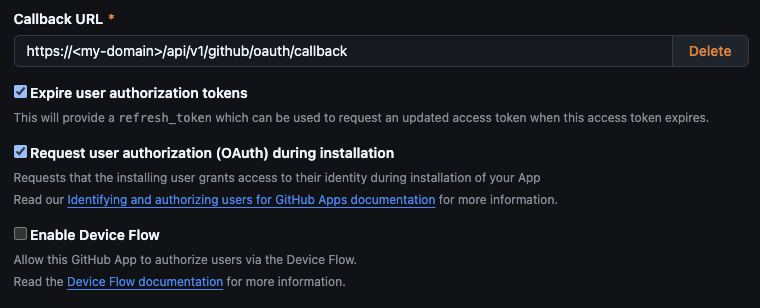
- Enable **Redirect on update **on Post Installation
-
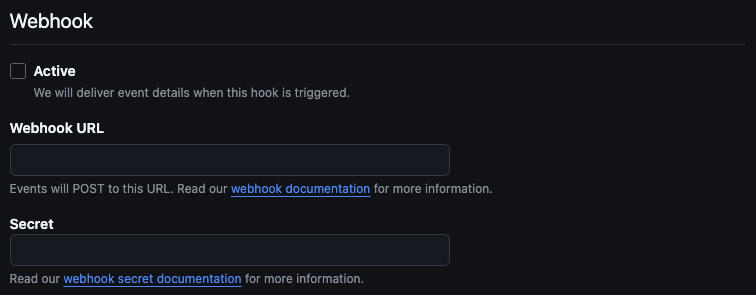
Deactivate webhooks
- Checks:
Read and write - Contents:
Read and write - Pull requests:
Read and write - Workflows (optional):
Read and write
Generate Certificate and Secret
After creating your Github account you will need to generate a Client Secret. Copy it and keep it safe, this will get used for theGITHUB_CLIENT_SECRET environment variable.

base64 , this will get used for the GITHUB_PRIVATE_KEY environment variable.
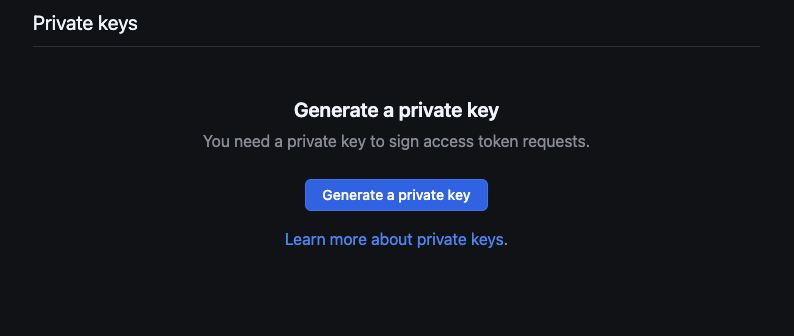
You should save both the Client Secret and the Private Key in a safe place as you might need them at a later time.
Adding credentials to your local environment
Now you need to add the following environment variables to your Lightdash server.GITHUB_PRIVATE_KEY: This is thebase64string of the Private Key generated for your Github appGITHUB_CLIENT_SECRET: This is the client secret generated for your Github appGITHUB_CLIENT_ID: Copy this from your Github app settings > GeneralGITHUB_APP_ID: Copy this from your Github app settings > GeneralGITHUB_APP_NAME: This is the name you set for your app, you can find it in app settings.