🛠 This page is for engineering teams self-hosting their own Lightdash instance. If you want to use the Slack integration, go to the Slack integration guide.
Create a new Slack app on your organization
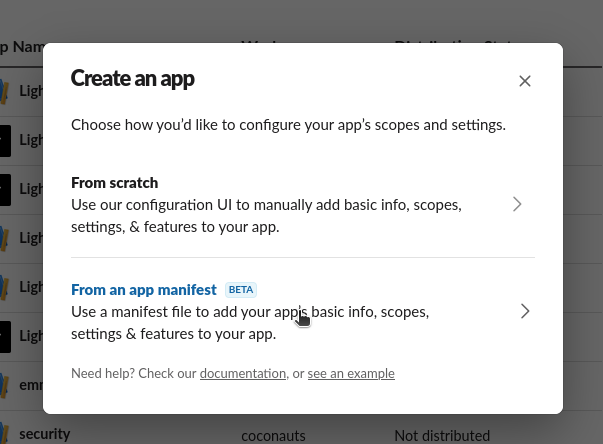
First we will have to create a Slack APP https://api.slack.com/apps?new_app=1 You can selectFrom an app manifest to make it easier.
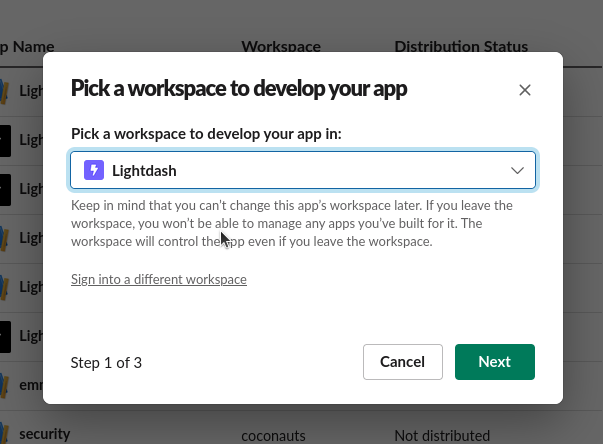
enable distribution if you want to use a different Slack workspace.
your-lightdash-deployment-url.com in the manifest below (for example, app.lightdash.cloud).
create
Copying credentials
Now copy the following credentials from your new app. FromBasic Information
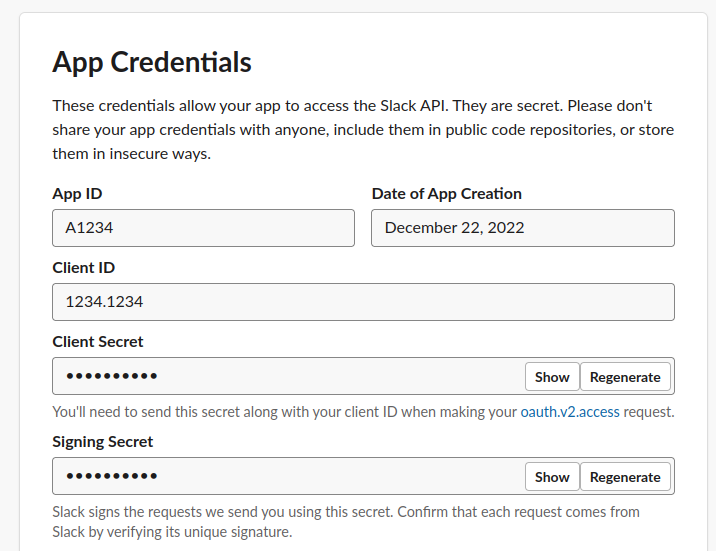
- Client ID
- Client secret (show and copy)
- Signing secret (show and copy)
Adding credentials to your local environment
Now you need to add the following environment variables to your Lightdash server using the credentials we previously copiedSLACK_CLIENT_ID: Client ID (make sure it is between quotes, so it is a string, not a number)SLACK_CLIENT_SECRET: Client secretSLACK_SIGNING_SECRET: Signing secretSLACK_STATE_SECRET: This can be any string
Enable Socket Mode (Alternative Setup)
Socket Mode allows your Slack app to receive events and interactions over a WebSocket connection instead of HTTP requests. This can be useful for development or when you cannot expose your Lightdash instance to the public internet.When to use Socket Mode
- Your Lightdash instance is not publicly accessible
- You’re developing or testing the Slack integration locally
Configuring Socket Mode
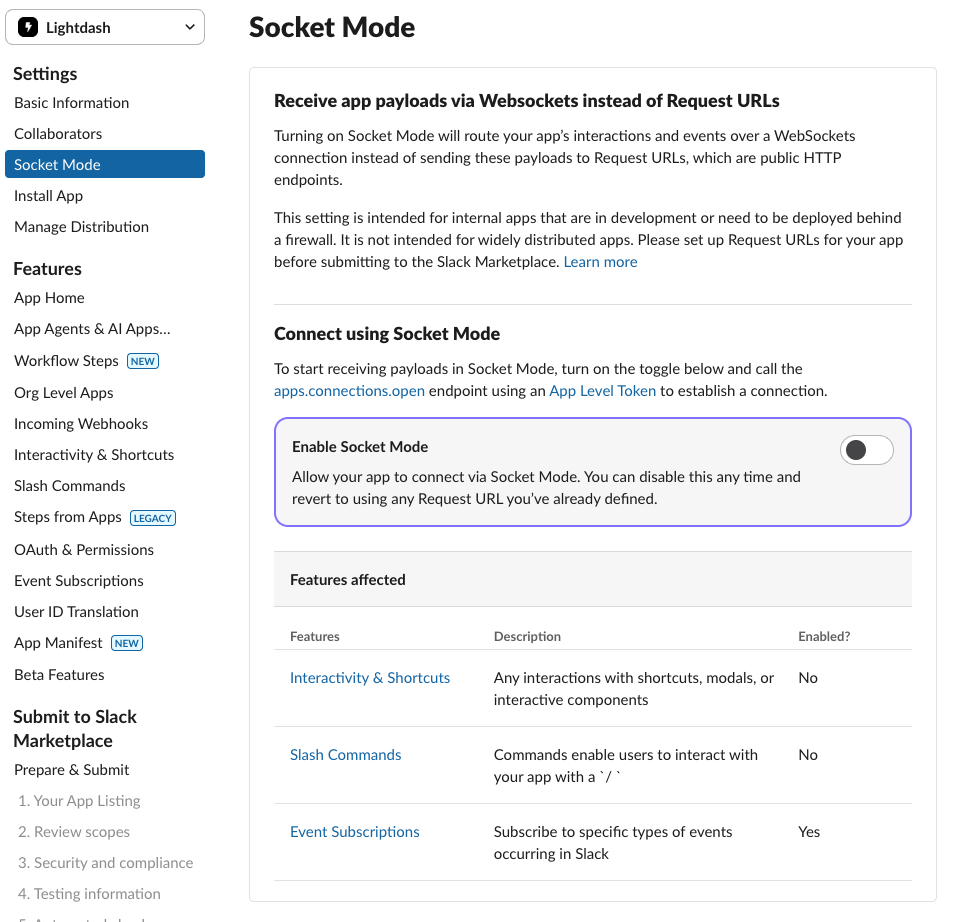
Step 1: Enable Socket Mode in your Slack App
- Go to your Slack app settings and navigate to the Socket Mode section in the sidebar.
- Toggle the Enable Socket Mode switch to enable it.
- After enabling Socket Mode, you’ll be prompted to generate an app-level token. Enter a name for your token (e.g., “lightdash-socket-token”).
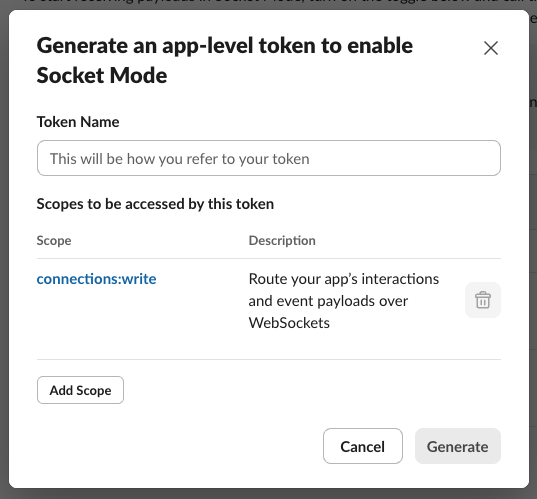
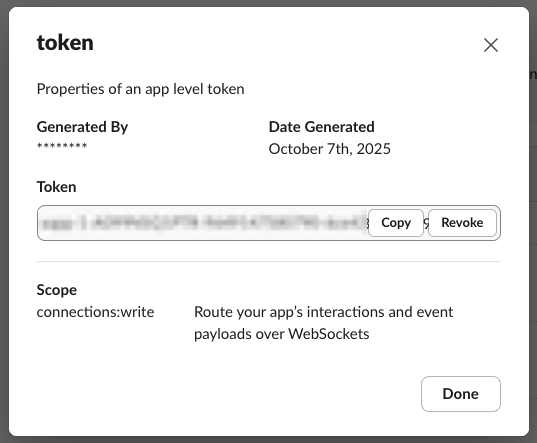
- Click Generate to create the token, then copy the generated token value. You’ll need this for the next step.
Step 2: Update Lightdash Environment Variables
Add the following environment variables to your Lightdash server configuration:SLACK_APP_TOKEN: The app-level token you just generated and copied from Step 1SLACK_SOCKET_MODE: Set to"true"to enable Socket Mode