Performance Best Practice: For optimal query performance, we recommend using wide tables wherever possible and minimising joins in the BI layer. While we offer advanced features like fanout protection to help with complex relationships, handling data transformations and complex logic directly in your SQL models will generally yield better performance than relying heavily on joins at query time. Consider pre-joining related data during your data modeling process rather than joining tables on-the-fly in dashboards and reports.
Adding joins in your models
Joins are defined at the same level as the model parameters in your YAML file.- dbt v1.9 and earlier
- dbt v1.10+ and Fusion
- Lightdash YAML
Rename a joined model
When joining tables, you may want to rename for readability. This can be done with thelabel tag, for example on the messages model it makes sense to rename the joined users table as “Sender”:
- dbt v1.9 and earlier
- dbt v1.10+ and Fusion
- Lightdash YAML
description field:
- dbt v1.9 and earlier
- dbt v1.10+ and Fusion
- Lightdash YAML
Join the same table multiple times
If you need to join a table multiple times, you can use analias to distinguish between the different tables. A common use case is joining a user table multiple times to another table depending on the type of user. For example this messages model has both a sender and a recipient:
- dbt v1.9 and earlier
- dbt v1.10+ and Fusion
- Lightdash YAML
- You must reference the fields in the model using the new alias. Notice that the joins above use
${sender.user_id}rather than${users.user_id}. - Because of the above, any fields in the base model or joined model that reference any field
${users.*}will fail to compile. Be careful of aliasing tables that are used in the base model. - Joined models are automatically relabelled with the alias but you may also customise this using the
label:field as above.
Specify your join type
If you want to specify the type of join to be used in your SQL query, use thetype field in your YAML configuration file. Set its value to one of the following: inner, left, right, or full. This will determine how the tables are joined in your query, aligning with SQL’s inner join, left outer join, right outer join, or full outer join respectively.
Here’s an example of how to specify a join type:
- dbt v1.9 and earlier
- dbt v1.10+ and Fusion
- Lightdash YAML
By default, if no
type is specified, Lightdash will use a left join.inner
An inner join returns rows that have matching values in both tables. For example, if you have ausers table and a subscriptions table, an inner join would return only the users who have a subscription.
Here’s an example of how to specify an inner join:
- dbt v1.9 and earlier
- dbt v1.10+ and Fusion
- Lightdash YAML
left
A left join returns all rows from the left table (i.e. the model where you’re adding thejoin to), and the matching rows from the right table (i.e. the model you’ve specified in - join:). Non-matching rows will have NULL for right table’s columns. For example, if you have a users table and a subscriptions table, a left join would return all users, and the subscription information for users who have a subscription.
Here’s an example of how to specify a left join:
- dbt v1.9 and earlier
- dbt v1.10+ and Fusion
- Lightdash YAML
right
A right join returns all rows from the right table (i.e. the model you’ve specified in- join: ), and the matching rows from the left table (i.e. the model where you’re adding the join to). Non-matching rows will have NULL for left table’s columns. For example, if you have a users table and a subscriptions table, a right join would return all subscriptions, and the user information for users who have a subscription.
Here’s an example of how to specify a right join:
- dbt v1.9 and earlier
- dbt v1.10+ and Fusion
- Lightdash YAML
full
A full join returns all rows when there is a match in either the left or right table records. Non-matching rows will haveNULL for columns of the table that lacks a match. For example, if you have a users table and a subscriptions table, a full join would return all users and all subscriptions, and the subscription information for users who have a subscription.
Defining join relationships
You can define the relationship between tables in your joins to help Lightdash show warnings and generate the appropriate SQL. This is especially useful for preventing SQL fanouts issues described in the SQL fanouts section. To define a relationship, add therelationship field to your join configuration.
- dbt v1.9 and earlier
- dbt v1.10+ and Fusion
- Lightdash YAML
The following join relationships are supported:
one-to-many- Starting table has 1 record, joined table has many matchesmany-to-one- Starting table has many records, joined table has 1 matchone-to-one- Starting table has 1 record, joined table has 1 matchmany-to-many- Multiple records in the starting table match multiple records in the joined table
Helpful Steps for Determining Join Relationships
Helpful Steps for Determining Join Relationships
Step 1: Identify your starting table
Which table are you joining FROM? Direction matters:Accounts joining to Users (one-to-many) is completely different from users joining to accounts (many-to-one), even though it’s the same data.Step 2: Count the expected matches and name the join relationship
For any record in your starting table, ask: “How many matching records will I find in the table I’m joining to and vice versa?” Refer to the supported join relationships listed above.The examples below detail some more complex join relationships:Chained Join Example
Don’t try to figure outAccounts → Users → Tracks all at once. Analyze each join separately:- First:
Accounts→Users(one-to-many) - Then:
Users→Tracks(one-to-many) - Overall result:
Accounts→Tracks(one-to-many)
accounts.yml file will look like this:- dbt v1.9 and earlier
- dbt v1.10+ and Fusion
- Lightdash YAML
Accounts and Users as being susceptible to fanouts and these would be handled accordingly. When you chain two one-to-many relationships, you get a one-to-many relationship from your starting table to your final table (Accounts can have many Tracks).Note that if I wanted to join Users and Accounts onto the Tracks, where Tracks is the starting model, the direction of the relationship would look different:The tracks.yml model would look like this:- dbt v1.9 and earlier
- dbt v1.10+ and Fusion
- Lightdash YAML
Complex Join Example
We want to see allAccounts and all Deals, but we only want to see Users (and their associated event Tracks) for Accounts that have at least one Deal in the “Won” stage.This join example is covered in our Demo site here.This requires a complex join that involves 4 different tables.- First:
Accounts→Deals(one-to-many) - Next:
AccountsandDeals→Users(many-to-many) - eachAccount+Dealcombination can be associated with manyUsersand each user can be associated with multipleDeals. - Then:
Users→Tracks(one-to-many)
accounts.yml would look like this:- dbt v1.9 and earlier
- dbt v1.10+ and Fusion
- Lightdash YAML
Step 3: Check for conditional joins
Look for any AND conditions in your join logic (like and${deals.stage} = 'Won'). These can change your relationship from what you’d expect - a typical one-to-many might become many-to-many when you add conditions.Step 4: Validate with sample data
Pick one record from your starting table and manually trace through the joins. Count how many final records you get - this helps catch relationship mistakes before they cause problems.Always join a table
If you need a table to always be joined, you can set thealways field to true.
- dbt v1.9 and earlier
- dbt v1.10+ and Fusion
- Lightdash YAML
Only select a subset of fields from a join
Use thefields tag to select a subset of fields from a join. This is useful if you want to join a model but only a few of its fields are useful in the joined context. For example this messages model only needs the name andemail fields from the users model. Note we must also include the user_id field since it’s needed for the join.
- dbt v1.9 and earlier
- dbt v1.10+ and Fusion
- Lightdash YAML
Using joined dimensions or metrics in your YAML
Once you’ve joined a model, you can reference the metrics and dimensions from your joined model in your configurations. For example, I can filter one of my metrics using a dimension from my joined model, like this:- dbt v1.9 and earlier
- dbt v1.10+ and Fusion
- Lightdash YAML
- dbt v1.9 and earlier
- dbt v1.10+ and Fusion
- Lightdash YAML
Model "TABLE" has a metric reference: ${TABLE.DIMENSION} which matches no metric - you likely have a mismatch in metric category. Read more about metric categories here.
Joins are not transitive
Joins defined on one model are not automatically available when that model is joined to another model. Each explore only knows about the joins explicitly defined on the model you are exploring from. For example, ifaccounts joins deals and users joins accounts, the deals join is not carried over to the users explore. Any dimension or metric on accounts that references a deals field (like ${deals.stage}) will fail to compile when exploring from users.
How to resolve cross-join field references
There are three approaches, depending on your use case: Option 1: Materialize the field in dbt (recommended) Compute the value as a real column in your dbt model so it has no cross-model dependency. This is the cleanest approach and avoids the issue entirely.- dbt v1.9 and earlier
- dbt v1.10+ and Fusion
- Lightdash YAML
fields
Use the fields tag on the join to omit metrics that depend on unavailable tables. The metric won’t be accessible in the explore, but the error is suppressed.
- dbt v1.9 and earlier
- dbt v1.10+ and Fusion
- Lightdash YAML
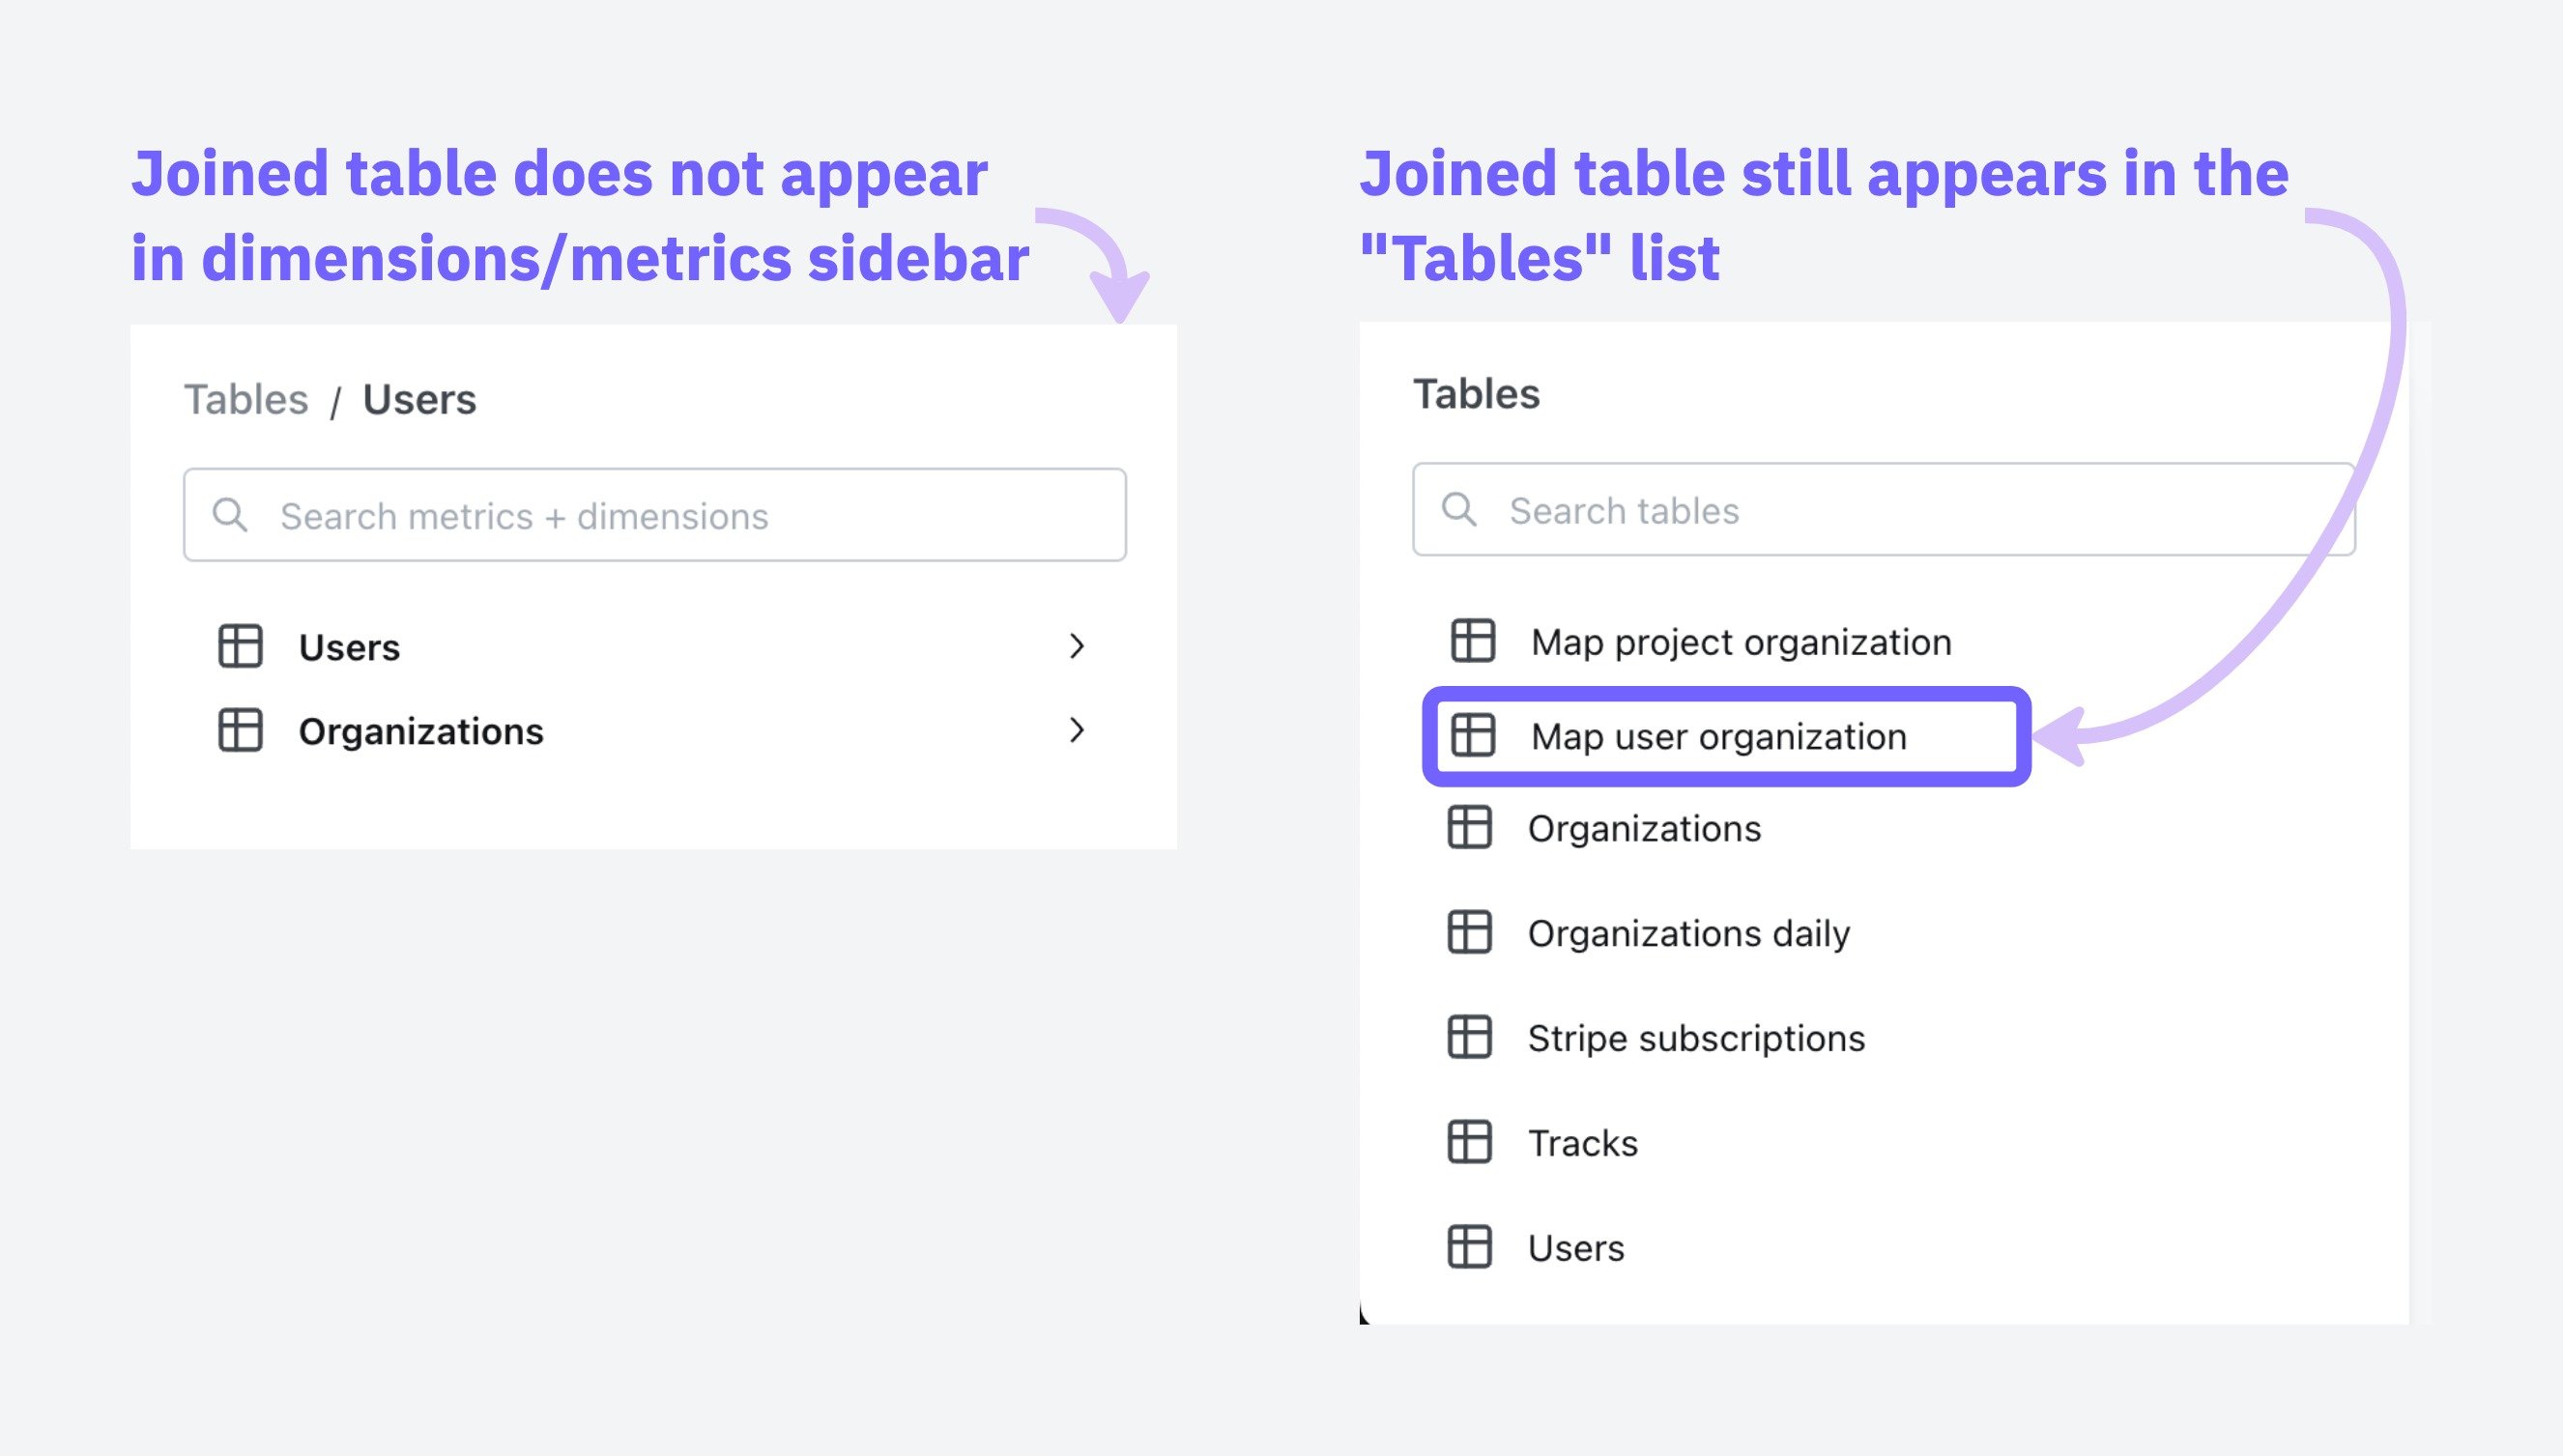
Hide joined tables
Sometimes, you need to use an intermediate model to join two models together and don’t want to show its columns in the list of available metrics/dimensions. You can add ahidden: true tag to joins, like this to hide these intermediate models:
- dbt v1.9 and earlier
- dbt v1.10+ and Fusion
- Lightdash YAML
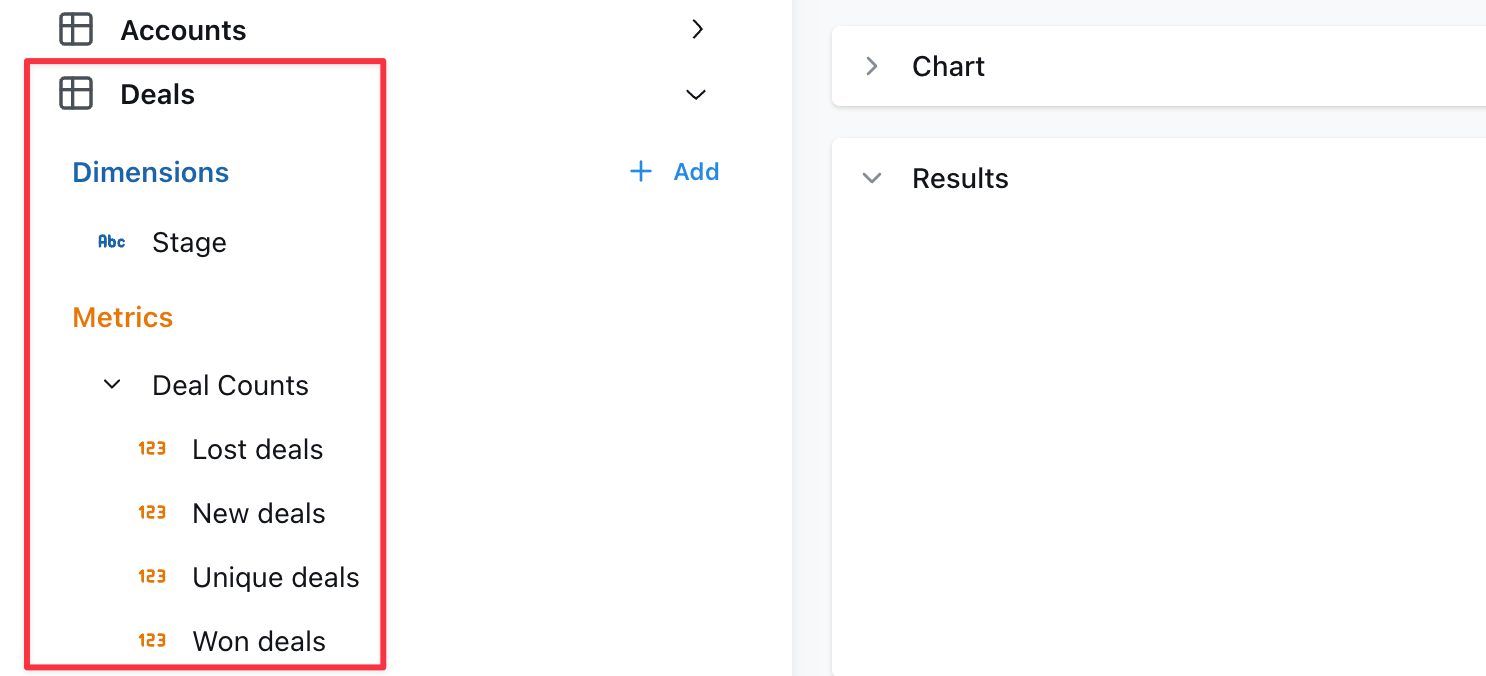
hidden tag in the join and changing nothing else will remove the joined table from the sidebar of metrics/dimensions in users, but it will still appear in the Tables list as a table to explore on its own.
SQL fanouts
When joining tables in SQL, it can accidentally inflate your metrics if those tables have one-to-many relationships. Understanding when this happens helps you know which metrics need special handling. When dealing with joins that might cause metric inflation, certain types of calculations remain safe to use.Safe vs. risky metrics
These metrics stay accurate even when the data contains duplicates:- min and max:
min(order_total)andmax(order_total)give you the same answer whether you have duplicates or not, because they’re looking for the extreme values, not counting or adding things up. The maximum value in a set doesn’t change just because that value appears multiple times. Aggregate functions with distinct:count(distinct user_id)ensures each user is counted only once, regardless of how many times they appear in the joined result.
sum,count,avgwithout using distinct- Custom calculations that treat duplicated rows as separate data points
Common scenarios and what gets affected
Single one-to-many join
Single one-to-many join
Example: When you join an
organization table to a users table, each organization can have multiple users.In this scenario:✅ User metrics remain accurate Since each user appears exactly once in the joined result, any metrics calculated on the user level (like average user age or total user count) will be correct.❌ Organization metrics become inflated - Each organization will appear multiple times in the result set (once for each associated user). This means organization-level metrics will be counted multiple times, leading to inflated results.For example, if “ABC Corp” has 2 users, its org_total_users metric cannot be summed because it will be duplicated twice.Raw tablesorganizations tableusers tableJoined OutputOrganizations are multiplied by the number of users
We cannot sum org_total_users on this joined table because it will be incorrect.
Chained one-to-many joins
Chained one-to-many joins
Example: When you create a chain of one-to-many relationships by joining
users to their orders, and then orders to their support tickets.In this scenario:✅ Ticket metrics remain accurate - The final table (tickets) in the chain will have accurate metrics because each ticket appears exactly once in the result set.❌ Upstream tables experience compounding inflation - The further up the chain you go, the worse the inflation gets:- Order metrics become inflated by the number of tickets per order. If Order #1001 has 3 support tickets, any metrics for this order (like order value) will be counted 3 times.
- User metrics suffer even more inflation as they’re multiplied by the total number of tickets. If a user has 2 orders with 3 tickets each, user-level metrics (like lifetime value) will be counted 6 times in aggregate calculations.
users → orders → tickets, the result would look like:Raw tablesusers tableorders tabletickets TableJoined outputStep 1: First Join users to orders
Step 2: Join the result of step 1 to tickets
Note that
users and orders are duplicated but tickets are not, which means we can only safely apply aggregates to metrics on the tickets table.Multiple one-to-many joins
Multiple one-to-many joins
Example: When you join This creates the worst-case scenario where no aggregate metric (
users → orders AND users → tickets (both orders and tickets relate to users, but not directly to each other)This creates the most problematic data situation, when you join multiple one-to-many relationships that branch from the same table but aren’t directly related to each other.
In this scenario:❌ EVERY aggregate metric gets inflated due to the cartesian product effect- User metrics become massively inflated by the product of
orders×tickets. If a user has 5 orders and 10 support tickets, each user-level metric will be counted 50 times! - Order metrics get inflated by the number of tickets the user has.
- Ticket metrics get inflated by the number of orders the user has.
users to both orders and tickets separately, the result would look like:Raw tablesusers tableorders tabletickets TableThe cartesian product - (every record is joined to every other record) of users, orders and tickets.
Note that there is duplication in
users, orders and tickets records. We cannot apply aggregates on any metrics without deduplicating records.sum, count, avg) is safe without explicit deduplication techniques.Handling fanouts
Lightdash can automatically handle deduplicating metrics that are inflated due to fanouts if join relationships are specified in YAML as described in Defining join relationships, above. For example:- dbt v1.9 and earlier
- dbt v1.10+ and Fusion
- Lightdash YAML
primary_key and the join relationship allows Lightdash to:
- Understand the intended row-level granularity
- Prevent metric inflation by deduplicating joined rows
Once you’ve included primary keys and a join relationship, Lightdash will add CTEs to the compiled SQL query that ensure metrics are not inflated.
How Lightdash solves SQL fanouts
Lightdash uses a pattern of Common Table Expressions (CTEs) to solve the fanout problem. Here’s how it works:- cte_keys: Contains dimensions (like payment_method, order_id) that define the grain of your final results and the primary keys. Any field you want to GROUP BY in your final output should be included here.
- cte_metrics: Performs calculations on metrics while maintaining the correct grain established by the keys CTE. This prevents double-counting when aggregating across related tables.
- cte_unaffected: Calculates all metrics that are not affected by fanouts. This includes metrics that exclude duplicates by definition (i.e.
MIN(),MAX()andCOUNT(DISTINCT)) as well as metrics that are calculated on the table that is on themanyside of anone-to-manyormany-to-onejoin relationship. For example, if you have joinedaccountstodealsusing aone-to-manyjoin relationship,SUM(deals.amount)would be calculated in this unaffected_cte because thedealsdata is not susceptible to fanouts. - final: Join the metrics CTEs together to create the complete result set.
Lightdash creates a separate cte_keys and cte_metrics for each table that contains metrics with fanouts. This is why you’ll see names like “cte_keys_orders” and “cte_metrics_orders” in the example below, indicating they’re specific to the orders table.
Examples
Known limitations
There are a few situations where Lightdash doesn’t currently handle inflated metrics:Metrics that reference a dimension from joined table
Metrics that reference a dimension from joined table
When a metric in one table references a dimension from a joined table, Lightdash’s fanout handling may not correctly deduplicate the results.ExampleReferences in metric RecommendationTo avoid this limitation, consider moving this logic to your dbt models. By transforming your data in dbt first, you can pre-calculate these dimensions without needing to reference dimensions from joined tables in Lightdash.
sqlMetrics that have a filter with a dimension from joined table
Metrics that have a filter with a dimension from joined table
Metrics that include filters based on dimensions from joined tables can also cause issues with Lightdash’s fanout handling.ExampleRecommendationTo avoid this limitation, consider moving this logic to your dbt models. By applying these filters in your dbt transformations, you can create pre-filtered metrics that don’t require referencing dimensions from joined tables in Lightdash.
Metrics that have multiple levels of references
Metrics that have multiple levels of references
Metrics that involve multiple levels of references or dependencies can be particularly challenging for Lightdash’s fanout handling.ExampleRecommendationTo avoid this limitation, consider moving this complex logic to your dbt models. By pre-calculating these metrics in dbt, you can flatten the dependency chain and avoid the need for multi-level references between joined tables in Lightdash.
Rolledup metrics
Rolledup metrics
Rolledup metrics are pre-aggregated metrics that have already been calculated at a specific granularity in your data warehouse. When these metrics are used in queries that involve joins creating fanouts, they can become inflated because the pre-aggregated values get duplicated across the fanned-out rows.Example: Orders and payments analysisConsider a scenario where you have an orders table with total_amount and a payments table with payment methods. For each order, you can have multiple payments with different methods:orders table:
payments table:
If you select payment method and average orders total_amount, the results are wrong because total_amount is a rolledup metric that can’t be split by method:
This is incorrect because:
- The cash average should reflect that cash was only used for part of order 1001 ($100), but the query shows $100 as if cash paid for the entire order
- The card average shows $175 (average of $100 and $250), but this doesn’t represent the actual relationship between card payments and order totals
total_amount is a rolledup metric at the order level, but when joined with payments, it gets duplicated across payment methods, making it impossible to correctly analyze the relationship between payment methods and order totals.Best practices for rolledup metricsTo avoid issues with rolledup metrics in joins that create fanouts:- Avoid rolledup metrics when possible: Instead of using pre-aggregated values, use the underlying detail-level data. For example, instead of using a pre-calculated
total_amountat the order level, use individual payment amounts that can be properly aggregated. - Name rolledup metrics clearly: If you must use rolledup metrics, give them descriptive names that indicate their pre-aggregated nature and limitations.
- Provide clear descriptions: Always include detailed descriptions in your dbt model’s YAML that explain the metric’s granularity and any limitations when used with joins.
- dbt v1.9 and earlier
- dbt v1.10+ and Fusion
- Lightdash YAML
Intentional fanouts
Intentional fanouts
In some business scenarios, fanouts are actually desired and represent real data relationships. A common example is when you need to calculate per-user fees or charges.Example: Per-user billingConsider a scenario with accounts, users, and per-user fees where different accounts pay different rates:accounts table:The resulting fanout is exactly what you want for billing:
users table:
fees table:
When you join these tables:
In this case, each row represents a real charge, and the total billing (TechCorp pays $400, StartupXYZ pays $125) is correctly calculated by summing all rows.Handling intentional fanoutsLightdash does not currently provide a built-in way to explicitly handle intentional fanouts. Using intentional fanouts can cause issues when defining other table relationships and may conflict with Lightdash’s automatic fanout handling.We recommend always use fanout protection for joins. When you actually want a fanout (like per-user billing), create a dedicated dbt model that handles the logic and gets your data to the right granularity first. Then use that model in Lightdash.