The AI Router is part of the AI agents add-on. View pricing
The router only chooses between agents the user can already access. It never widens an agent’s data access or bypasses permissions — it only changes which of the user’s available agents answers a given question.
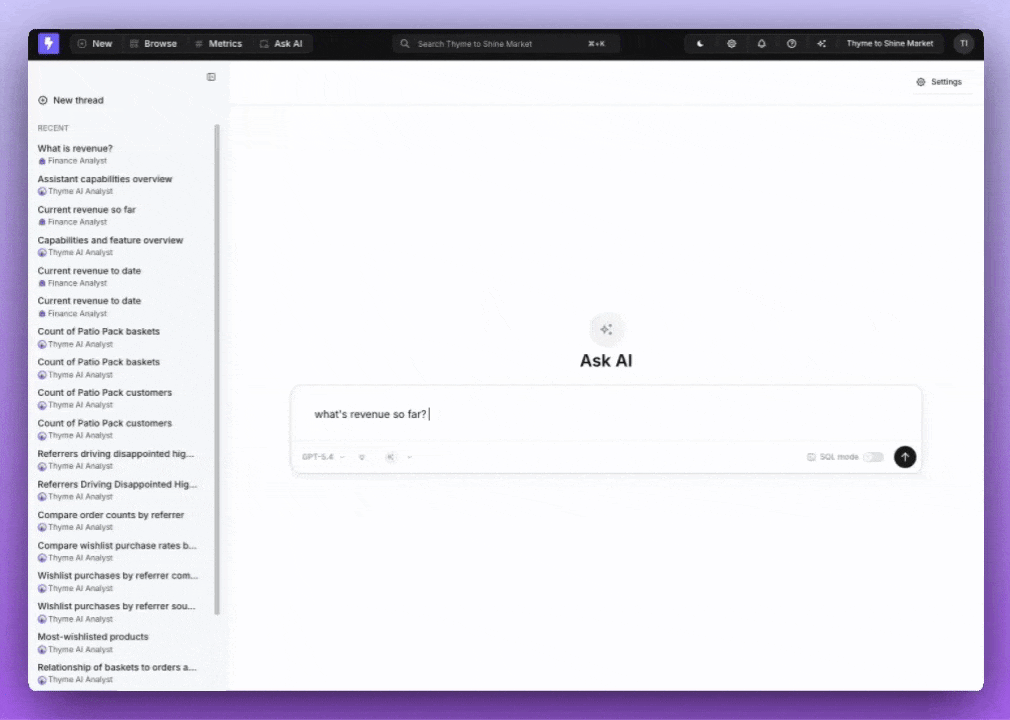
When the router runs
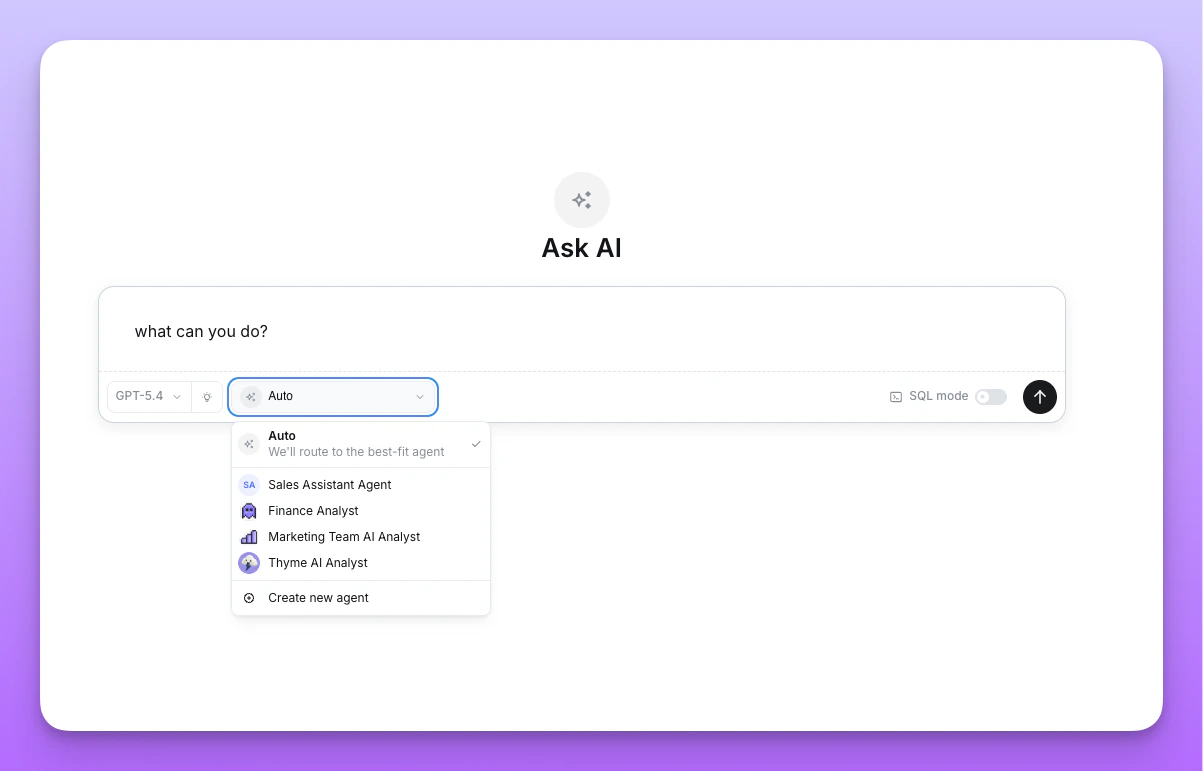
The router needs at least two agents you can access in a project. With a single accessible agent there’s nothing to route between, so Lightdash opens that agent directly. When the router is confident, it routes your question straight to the best agent and starts the conversation. When it isn’t, it shows a short picker with the recommended agent highlighted so you can choose.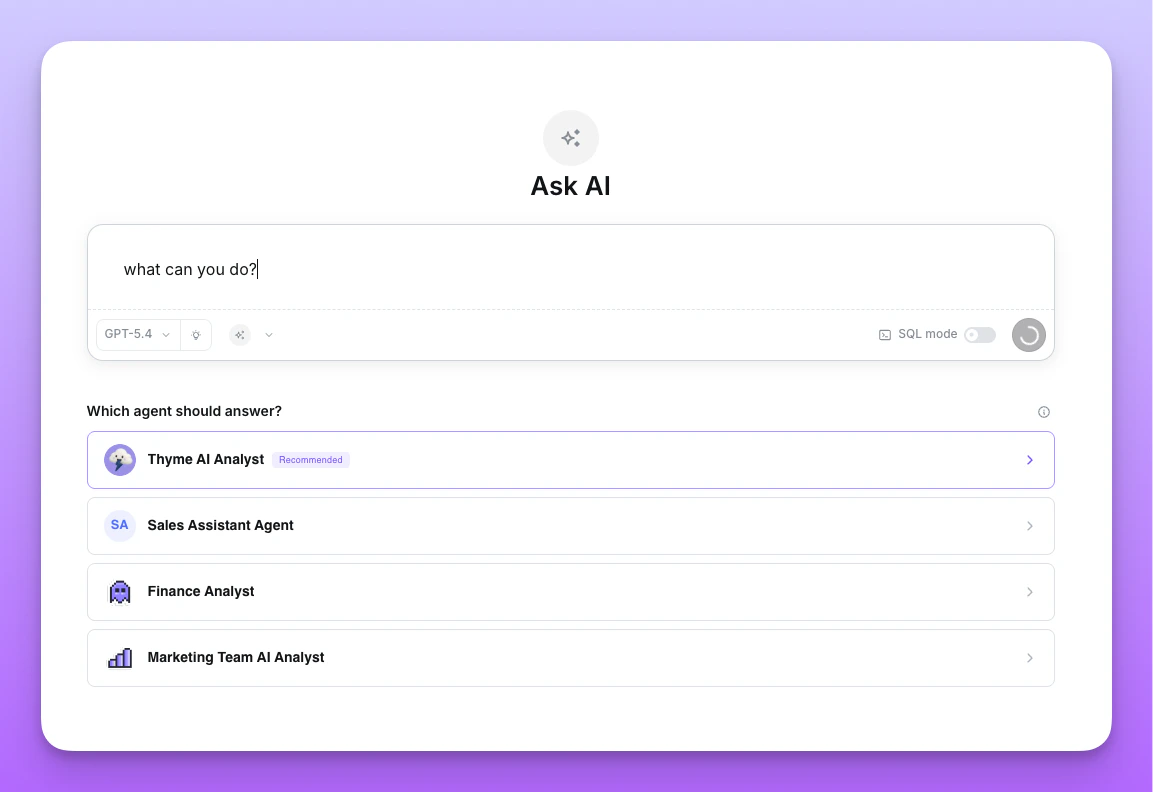

Enabling the router
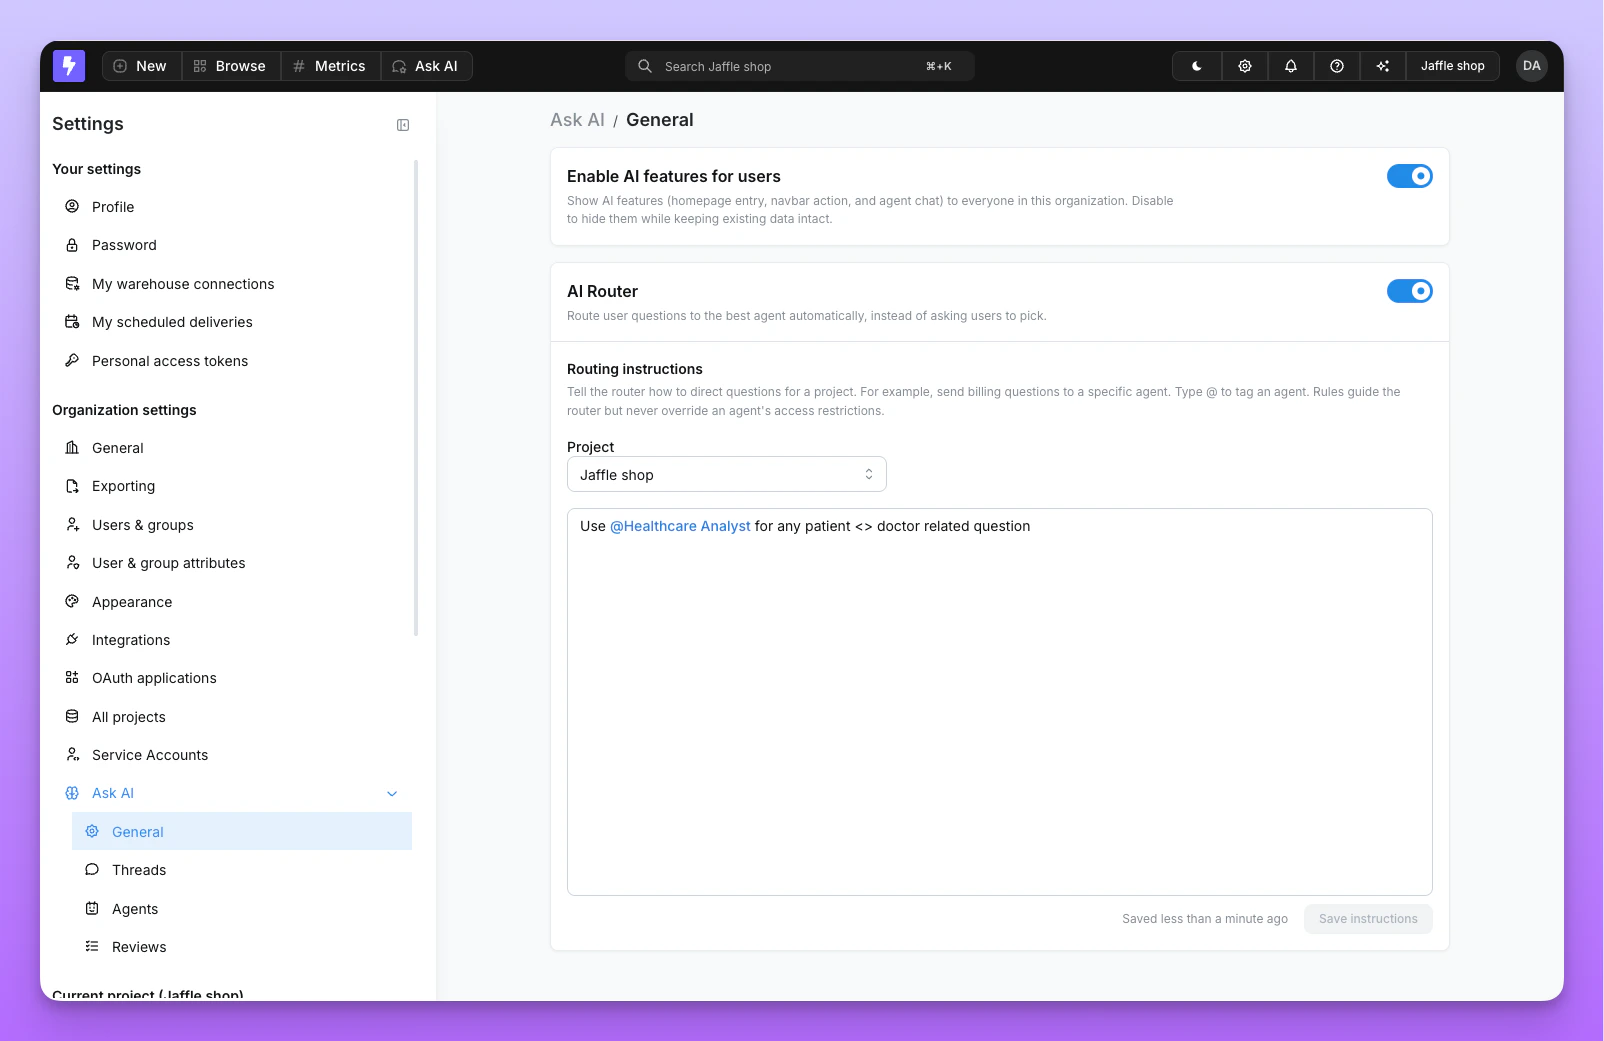
The router is configured at the organization level and requires Organization Admin permissions.1
Open AI settings
Go to Settings → Organization Settings → Ask AI → General.
2
Make sure AI features are on
The router can only be turned on when Enable AI features for users is already enabled. If AI features are off, the router toggle is disabled with the hint “Enable AI features first to use the Router.”
3
Turn on the AI Router
Toggle on AI Router — “Route user questions to the best agent automatically, instead of asking users to pick.”
Routing instructions
By default the router decides on its own, but you can give it routing instructions to steer specific kinds of questions toward specific agents — for example, “send billing questions to the Finance agent.” Instructions are written per project and authored by admins.1
Open routing instructions
With the router enabled, scroll down on the Ask AI → General page to the Routing instructions card.
2
Pick a project
Choose the project these instructions apply to. Routing instructions are scoped per project.
3
Write your rules
Describe how questions should be directed. Type @ to tag a specific agent, then click Save instructions.
- Rules are advisory. They guide the router’s choice but never override an agent’s access restrictions. A rule can only point to agents the user can already access.
- Tagged agents must belong to the project. You can only tag agents that exist in the selected project.
- Fewer than two agents? You can still write and save instructions, but the router won’t run in that project until at least two accessible agents exist. Lightdash shows a note when this is the case.
Router and Slack
The same routing logic powers multi-agent Slack channels. In a multi-agent channel you mention the single Lightdash Slack app and Lightdash automatically picks the best agent for your question — no need to know which agent to address. See Slack channels: single-agent vs. multi-agent for setup.Router and MCP
The router is also exposed to AI assistants over Lightdash MCP through theroute_agent tool. After setting an active project, the assistant can pass the user’s prompt to route_agent and Lightdash automatically activates the best-fit agent for the rest of the session — no manual list_agents / set_agent step required.
Unlike the web experience, MCP routes directly to the best-fit agent even when only one agent is accessible (there’s no picker in an MCP client). Routing instructions and access controls behave the same way as in the Lightdash app.