

Install the Slack integration
Only your Lightdash organization admins can add or configure the Slack integration.
Required permissions
The Lightdash Slack app requests these scopes:links:readfor lightdash.cloud — lets Lightdash fetch information from the charts and dashboards you link so it can render previews in Slack.links:write— lets Lightdash unfurl those links.
Settings
After installing the app, you’ll see these settings: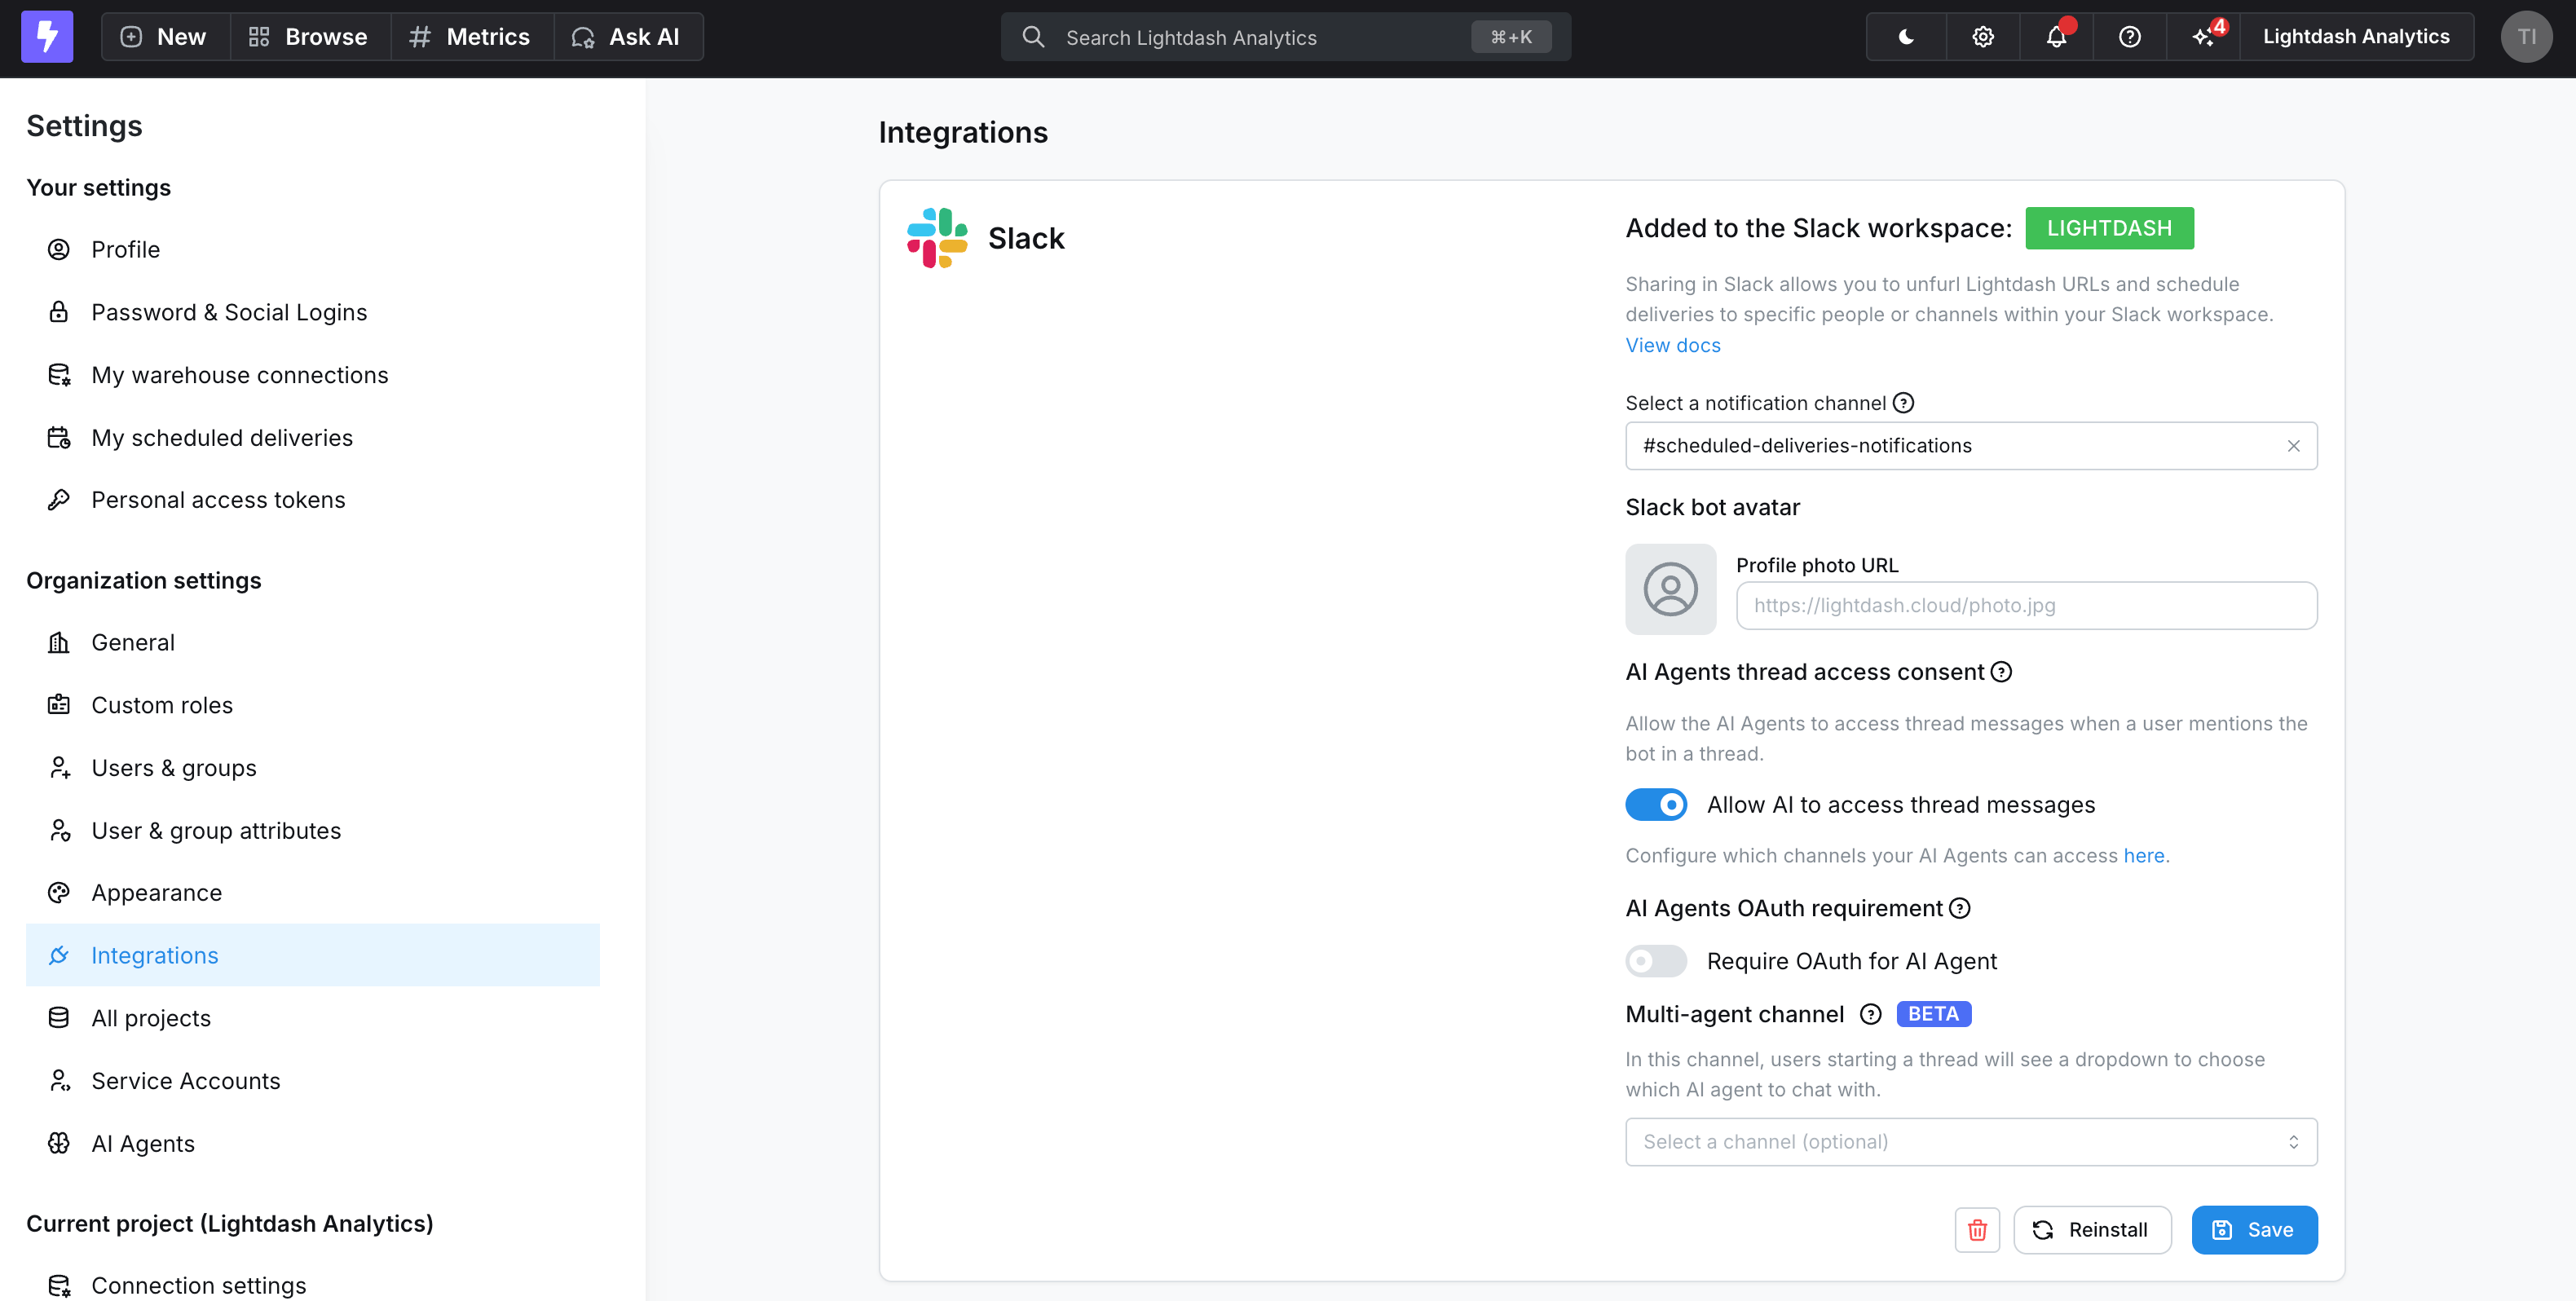
Select a notification channel
Choose a Slack channel where Lightdash sends alerts when any scheduled delivery in your organization fails. Add the Lightdash app to that channel for notifications to work.Slack bot avatar
Customize the app’s avatar by adding an image URL in the Profile photo URL field. Slack recommends a square image at least 512x512 pixels and no larger than 1024x1024 pixels.AI agents configuration
The AI agent settings, including the Multi-agent channel field, appear only when your organization has the AI agents entitlement or an AI trial.
User attribution and OAuth
By default, every AI agent conversation in Slack is attributed to the user who installed the Slack app (or created the agent): all questions appear as if they came from that single user, and every query runs with that user’s permissions. Enable the AI Agents OAuth requirement toggle to identify each Slack user individually. When enabled:- Each Slack user authenticates with Lightdash before using the AI agent.
- Conversations are attributed to the individual asking the question.
- Queries respect each user’s own user attributes and permissions.
Links only, no data in Slack
Turn on Links only, no data in Slack to keep query results out of Slack. Agents still answer in Slack, but people open the results in Lightdash. With it off, an agent can post a result table inline in its answer when the agent has data access enabled. Agents answer with a summary by default and add a table only when it’s requested or the rows help the answer, so ask for a table if you want one. The AI Agents OAuth requirement doesn’t affect whether tables appear. Answers that the agent gets by running raw SQL in SQL mode show a card that links to the results, never an inline table.Automatic channel linking
When someone@mentions the Lightdash app in a channel that has no agent configured, Lightdash offers to link an agent to that channel from Slack — either auto-linking the user’s one manageable agent, or posting an in-thread picker if the user manages several. See Linking an agent from Slack for the full flow.
The Enable automatic channel linking toggle controls this:
- On (default) — Slack mentions in unconfigured channels can add the channel to an agent’s list, so first-time setup is seamless.
- Off — Slack mentions in unconfigured channels post an ephemeral message pointing to the AI agents page, and never modify an agent’s channel list. Channels can only be managed from the agent settings UI.
Using the Slack integration
Once installed, the Slack integration surfaces Lightdash content and delivers it where your team already works. This video walks through the main ways to use it:Unfurl Lightdash links
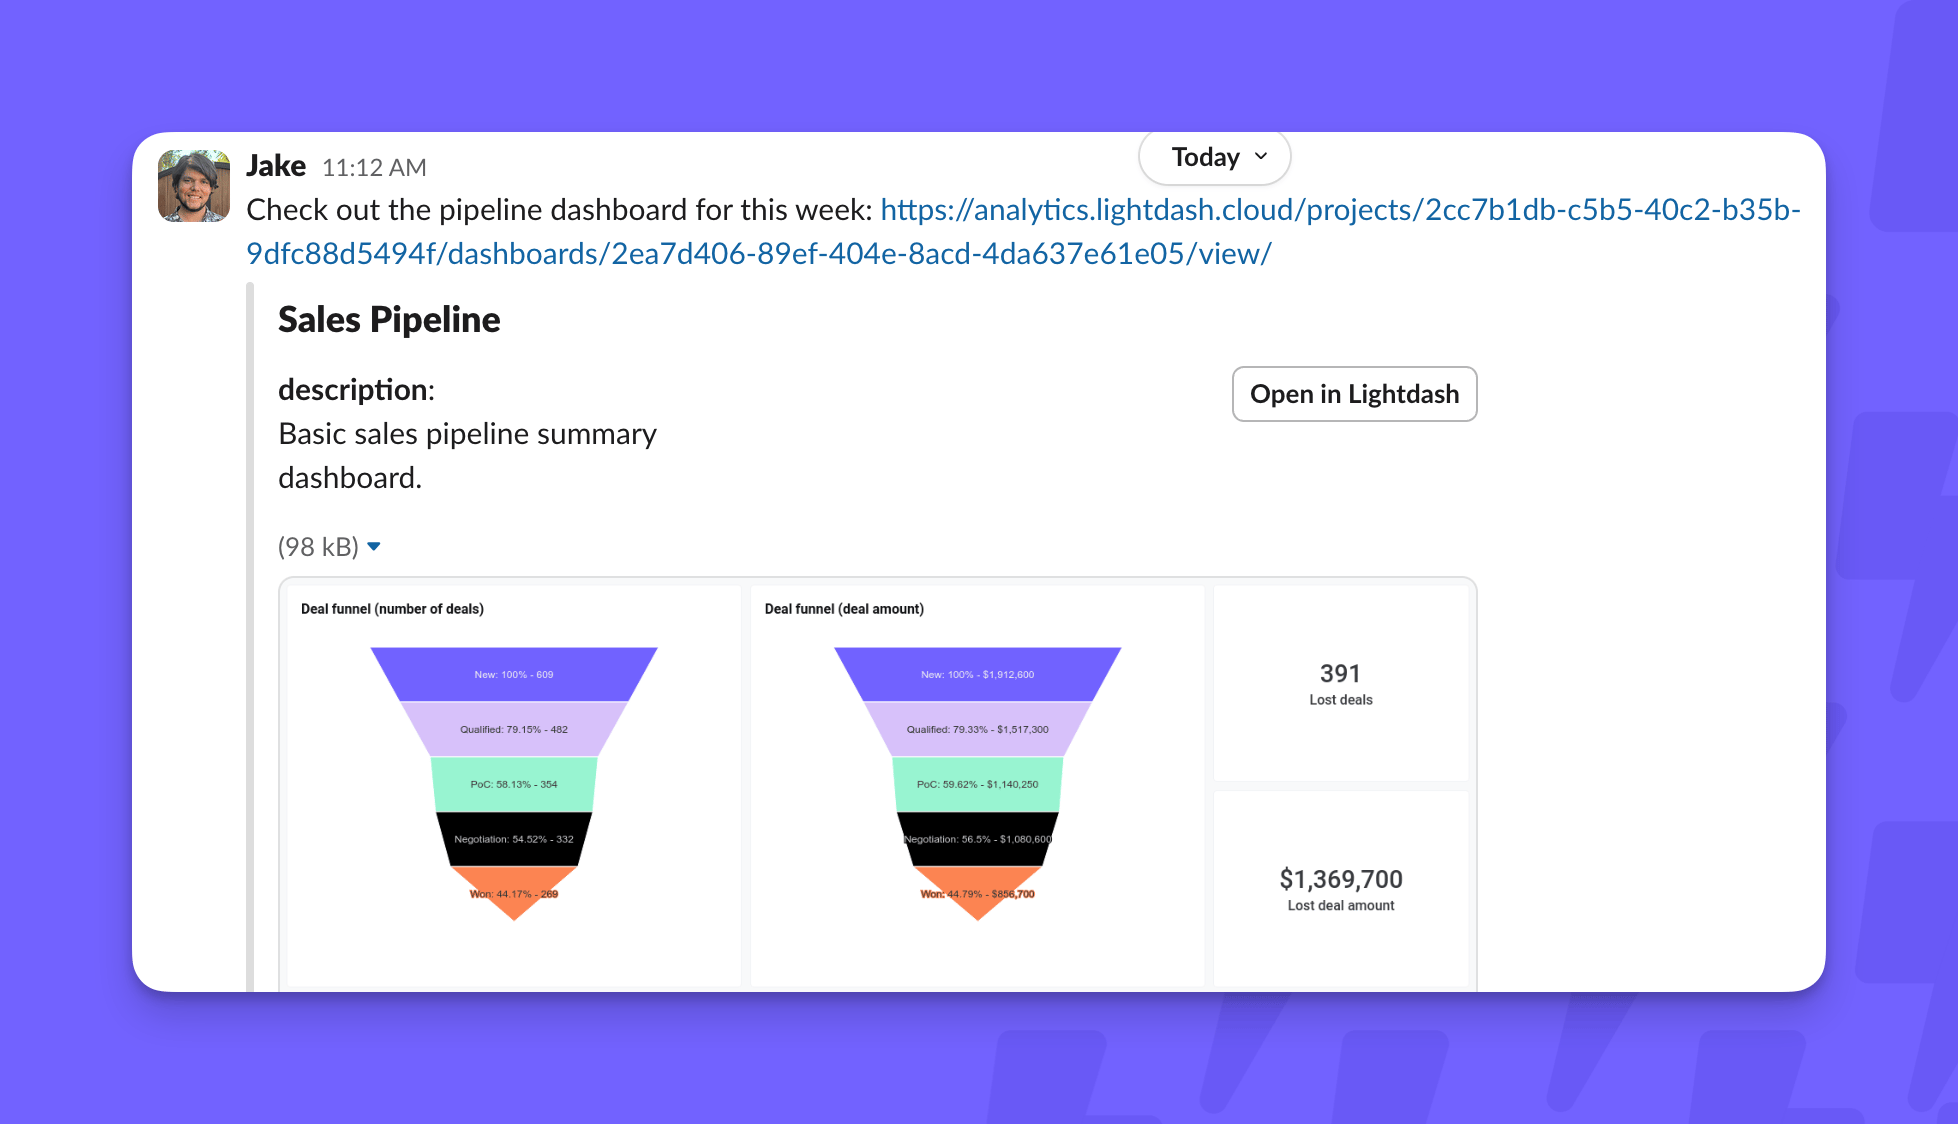
The app automatically unfurls links you share from your Lightdash project. Invite the app to a channel first, and it will unfurl links there — both links copied from the URL bar and “share” links copied with the link icon. Chart and dashboard links are supported. Here’s an unfurled chart: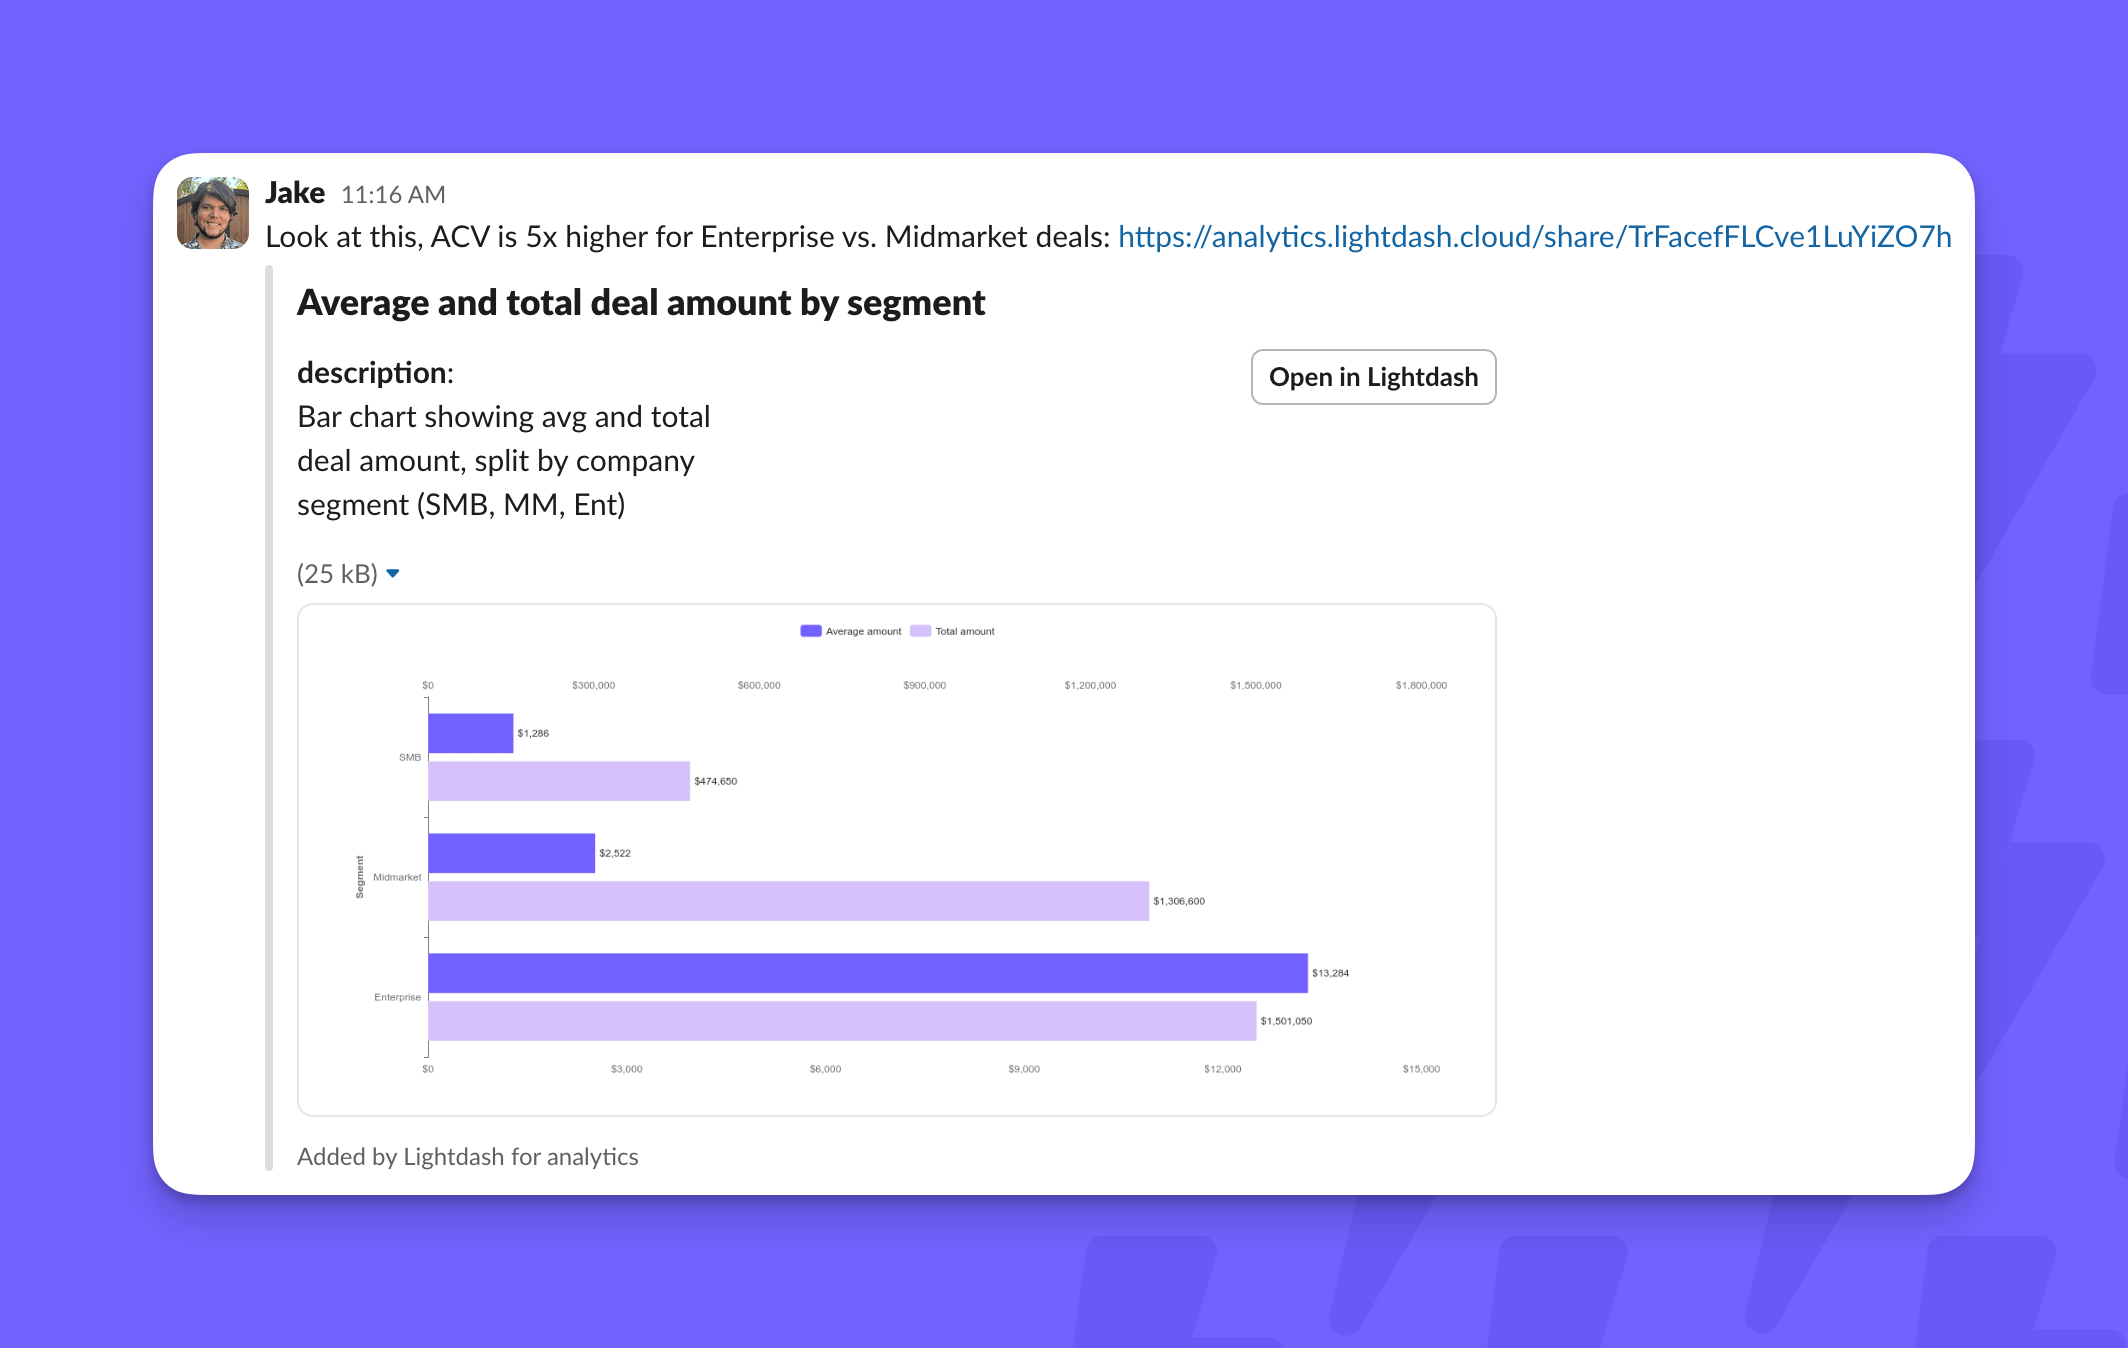
Scheduled deliveries
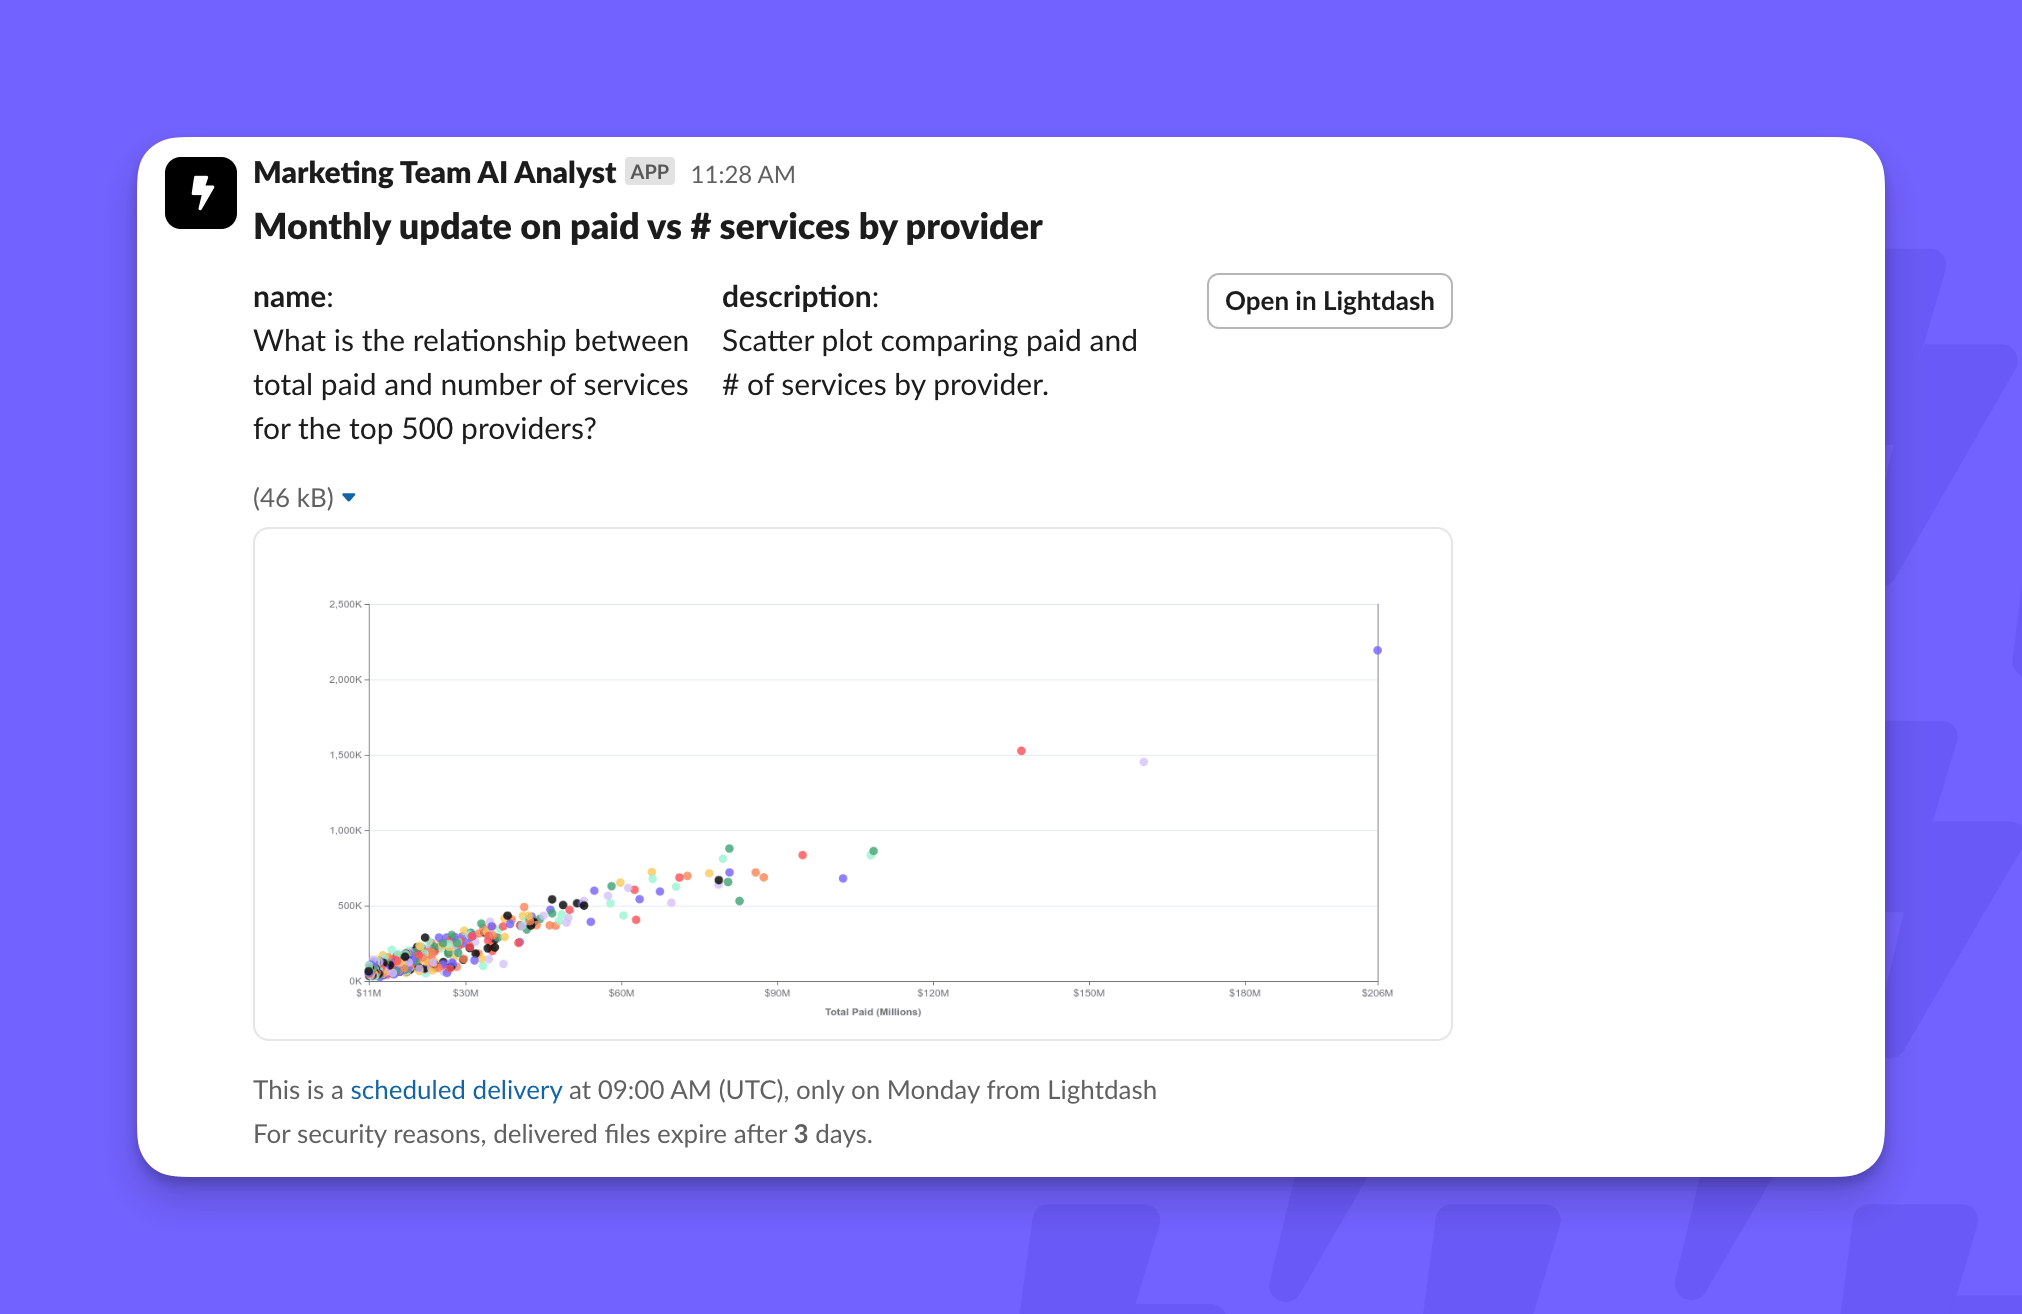
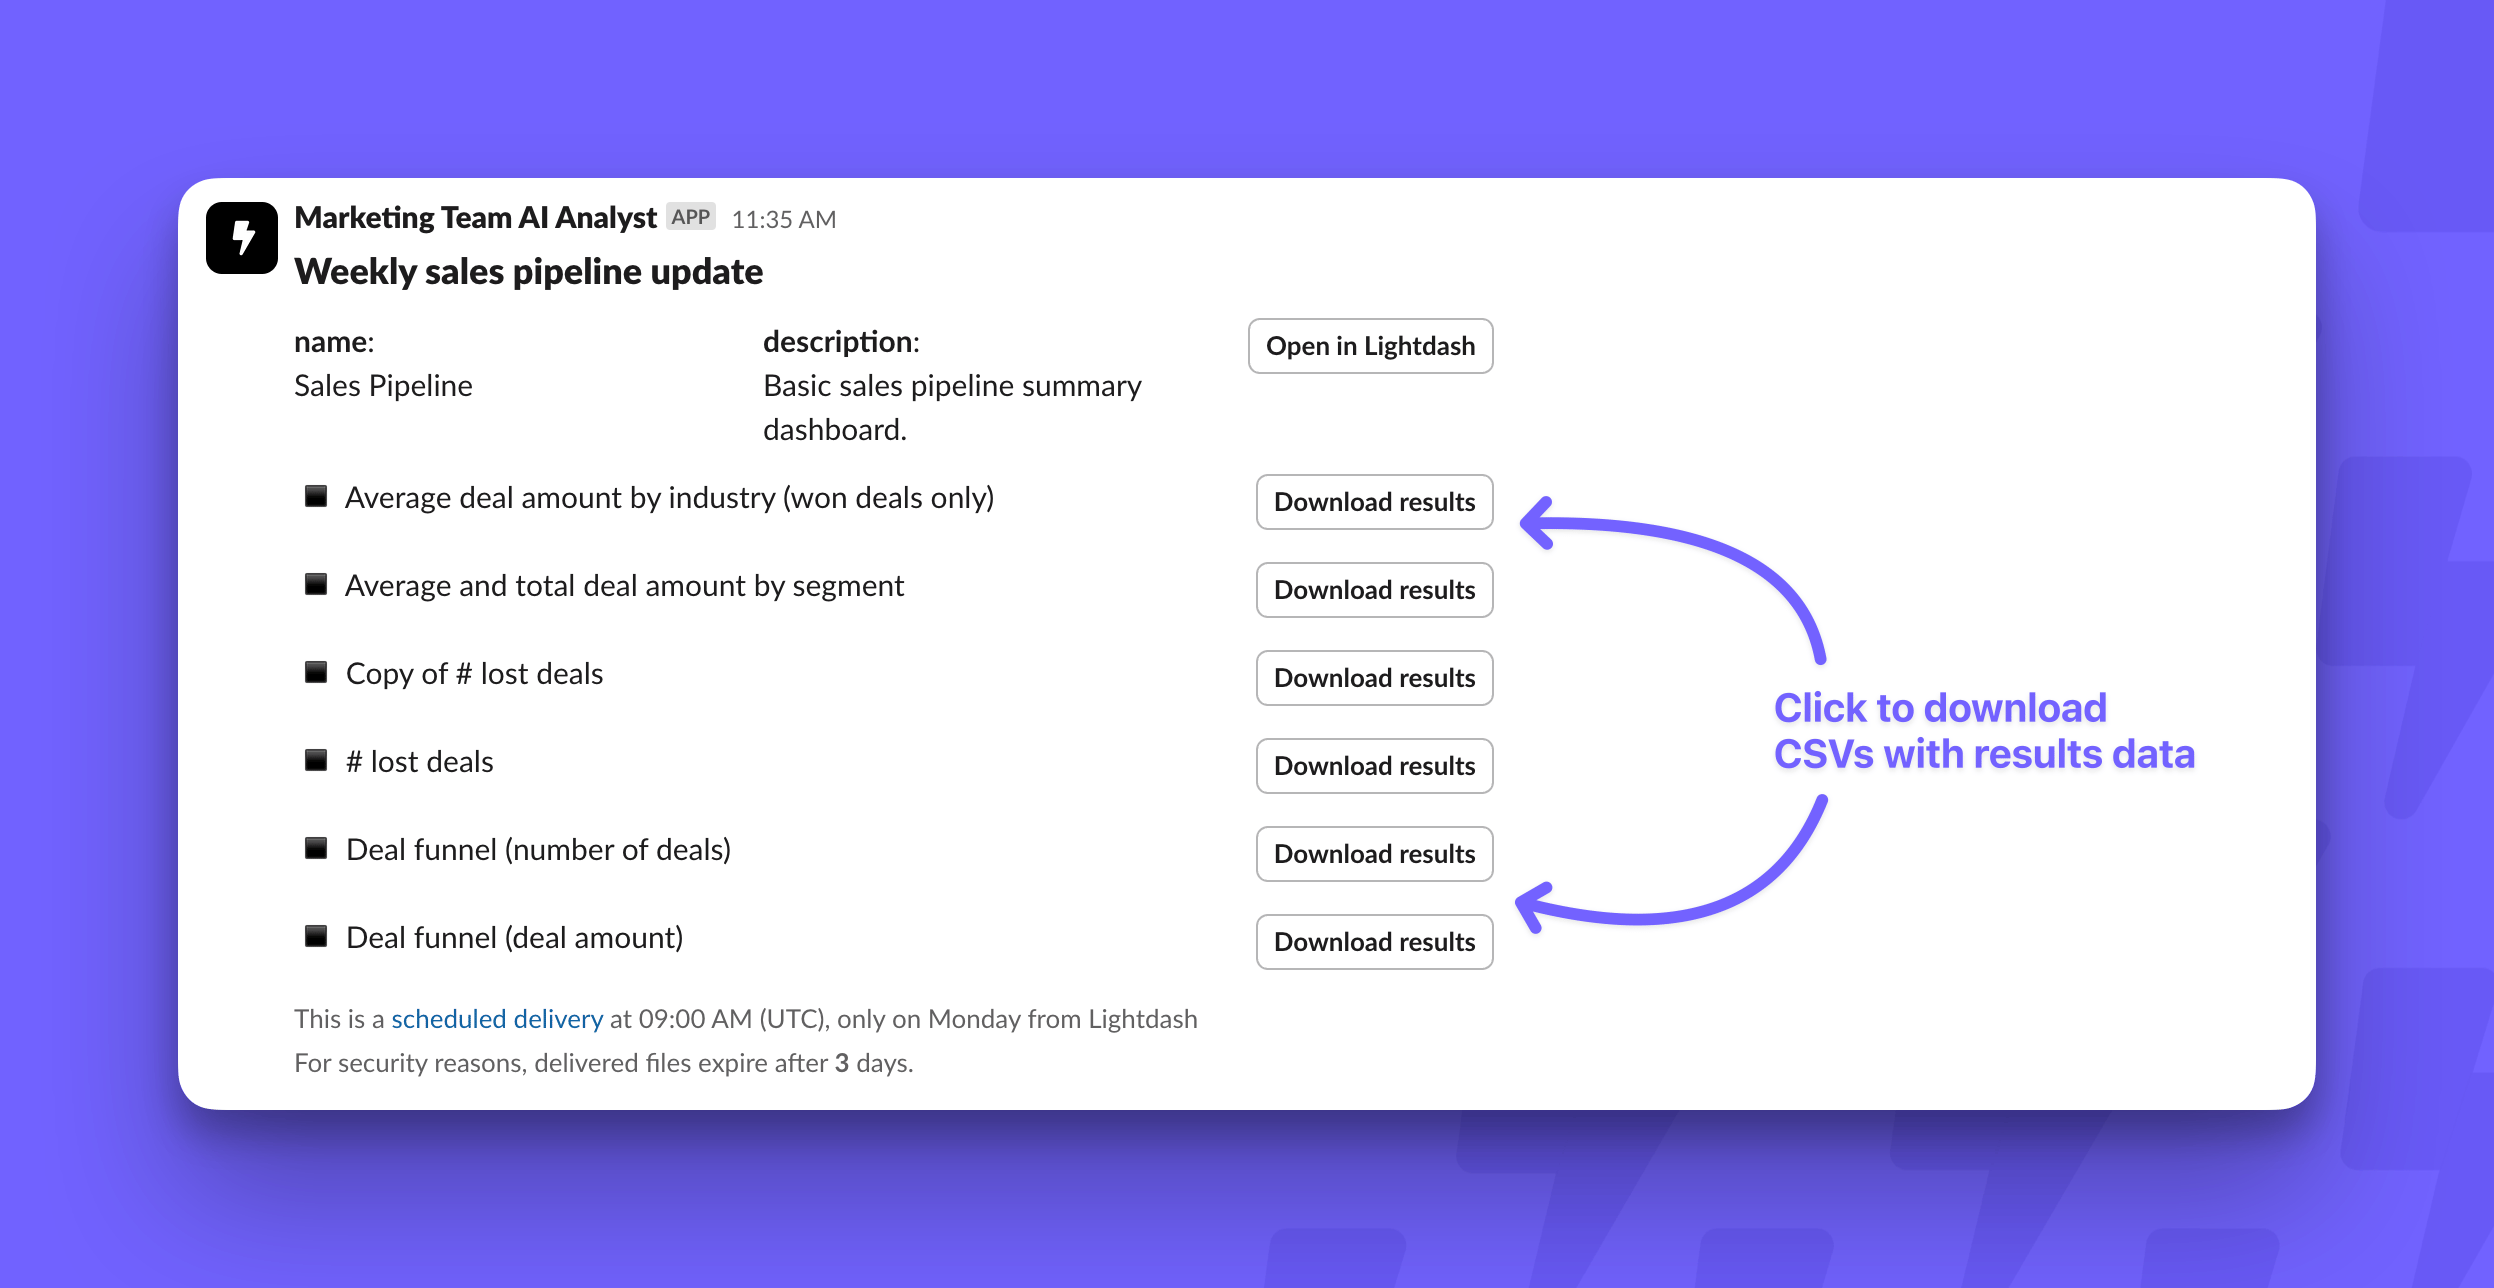
Use Slack as a destination for scheduled deliveries. Schedule refreshes for charts or dashboards and push the results into a Slack channel or DM. Add the Lightdash app to each channel before you send deliveries there, public or private, with/invite @Lightdash as described in Use Lightdash in private channels. The app doesn’t request permission to join channels itself, so if it isn’t in a channel, saving the delivery fails with Unable to join channel(s): missing channels:join scope. Add the app to the channel(s) manually.
Charts look like this when you attach an image:
Saved chart alerts in Slack
Beyond scheduled deliveries, you can set up alerts on saved charts that only send to Slack when your criteria are met. Alerts need the same channel membership as scheduled deliveries: add the Lightdash app to the channel first, as described above.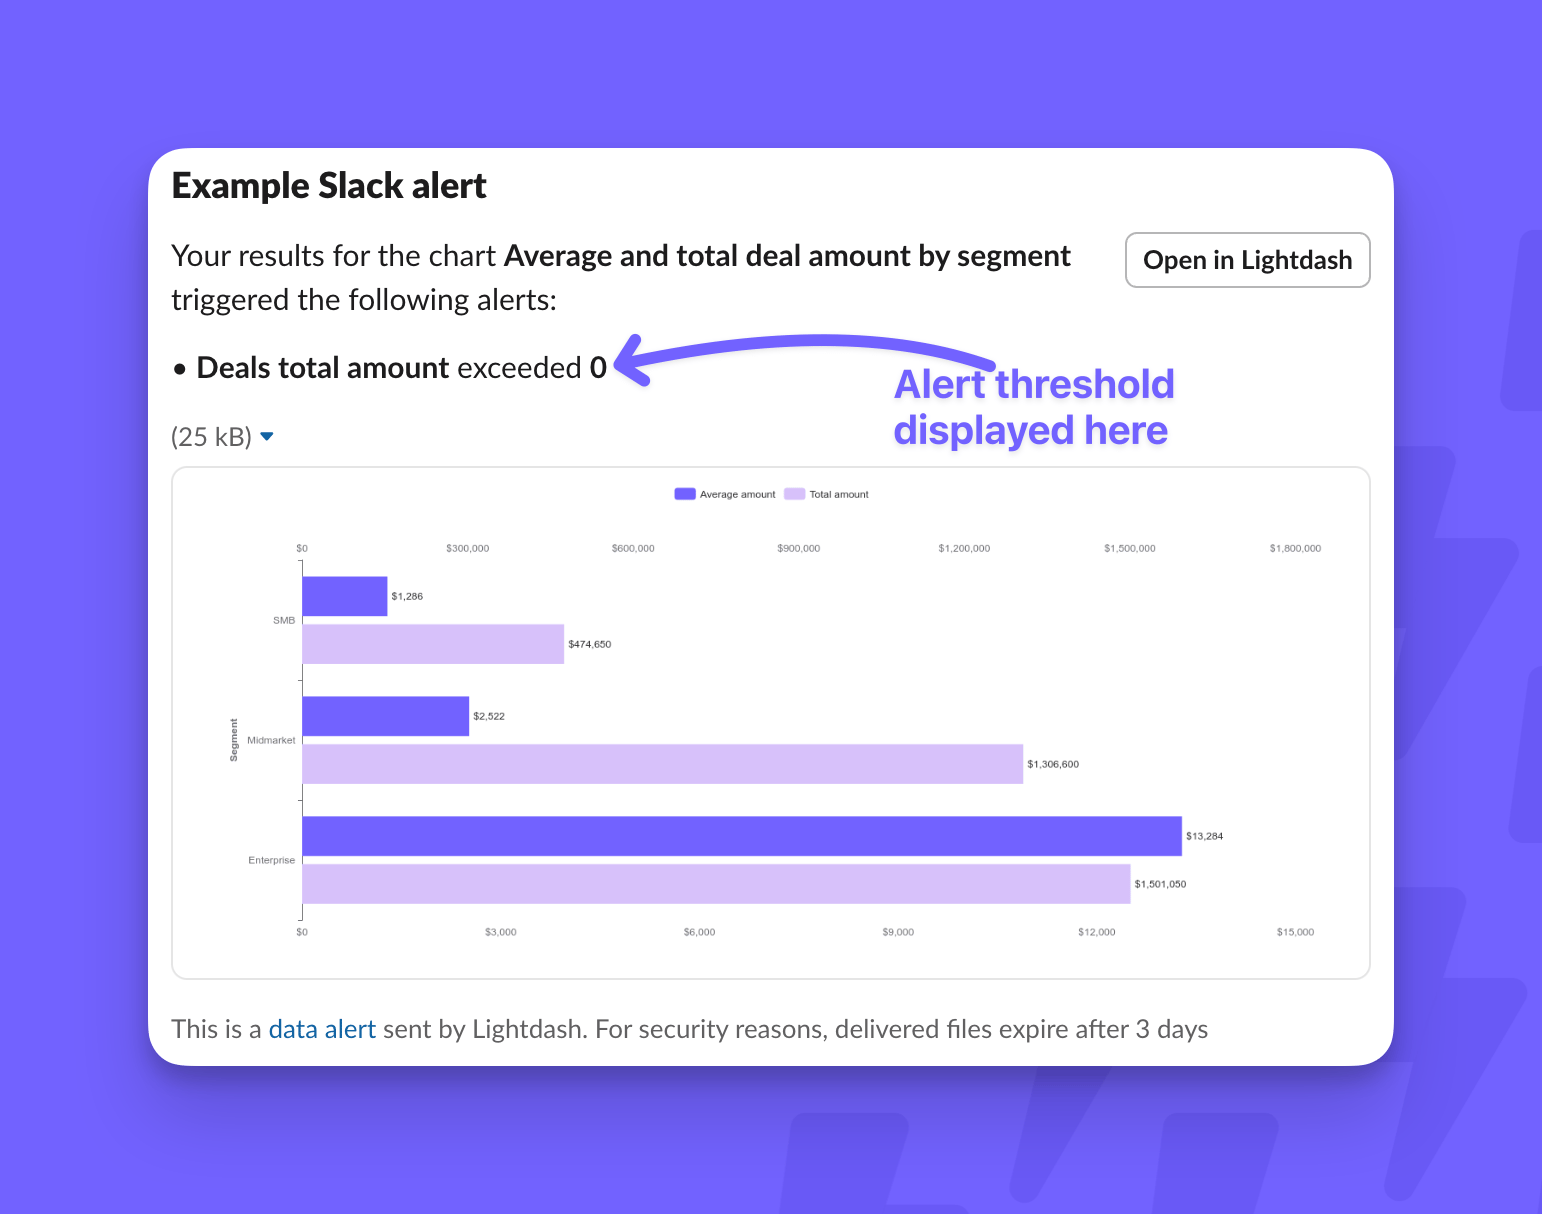
Use Lightdash in private channels
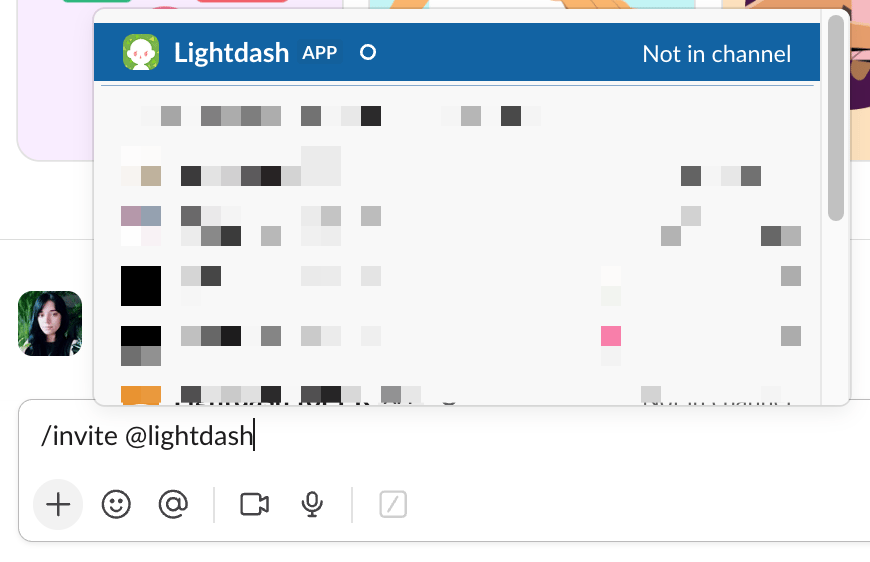
Slack doesn’t expose private channels to apps by default, so add the Lightdash app to a private channel manually. Either:- Invite the app — type
/invite @Lightdashin the channel.
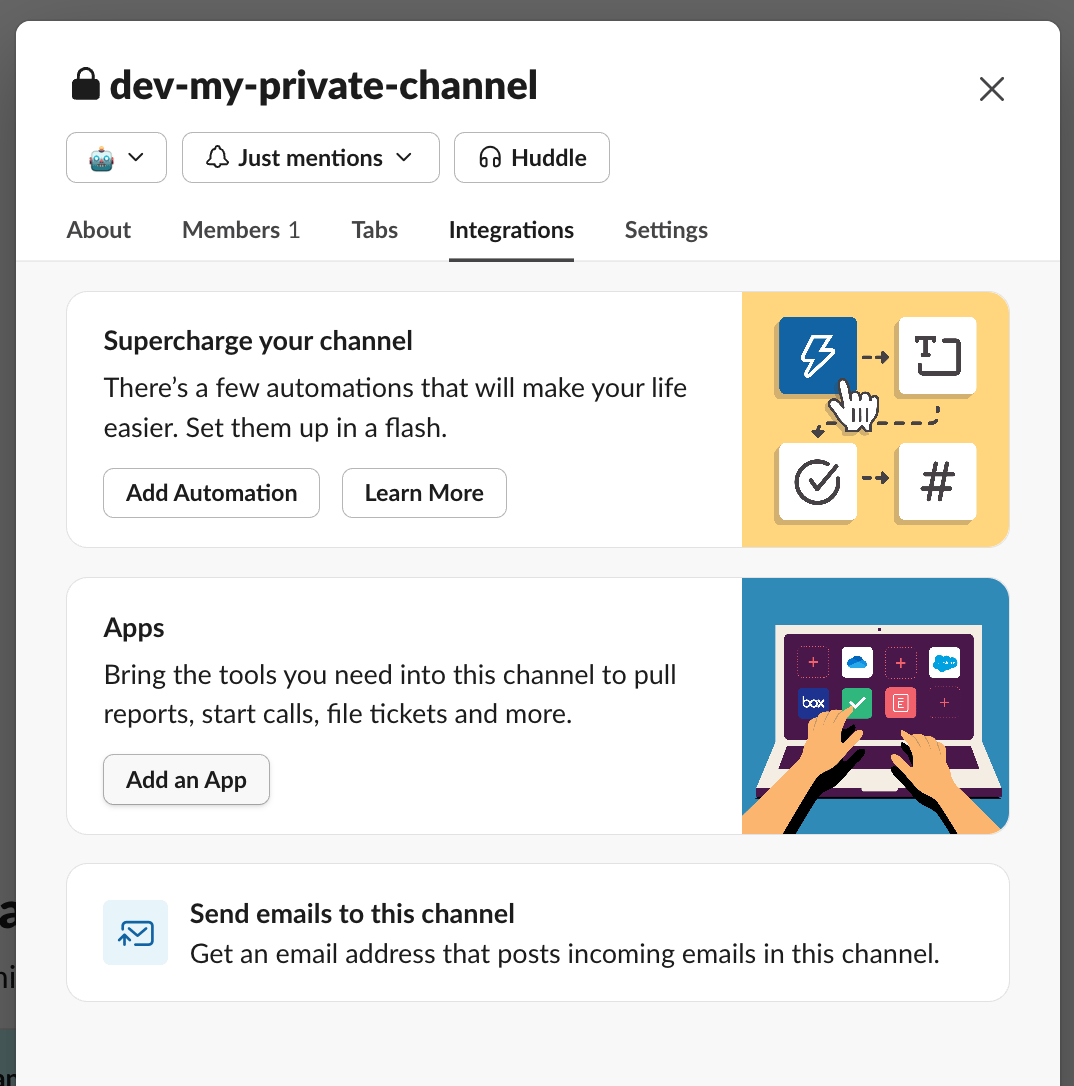
- Use channel settings — click the channel name, go to Integrations → Add an app, then search for and add Lightdash.
- Refreshing the channel list in the Lightdash UI, or
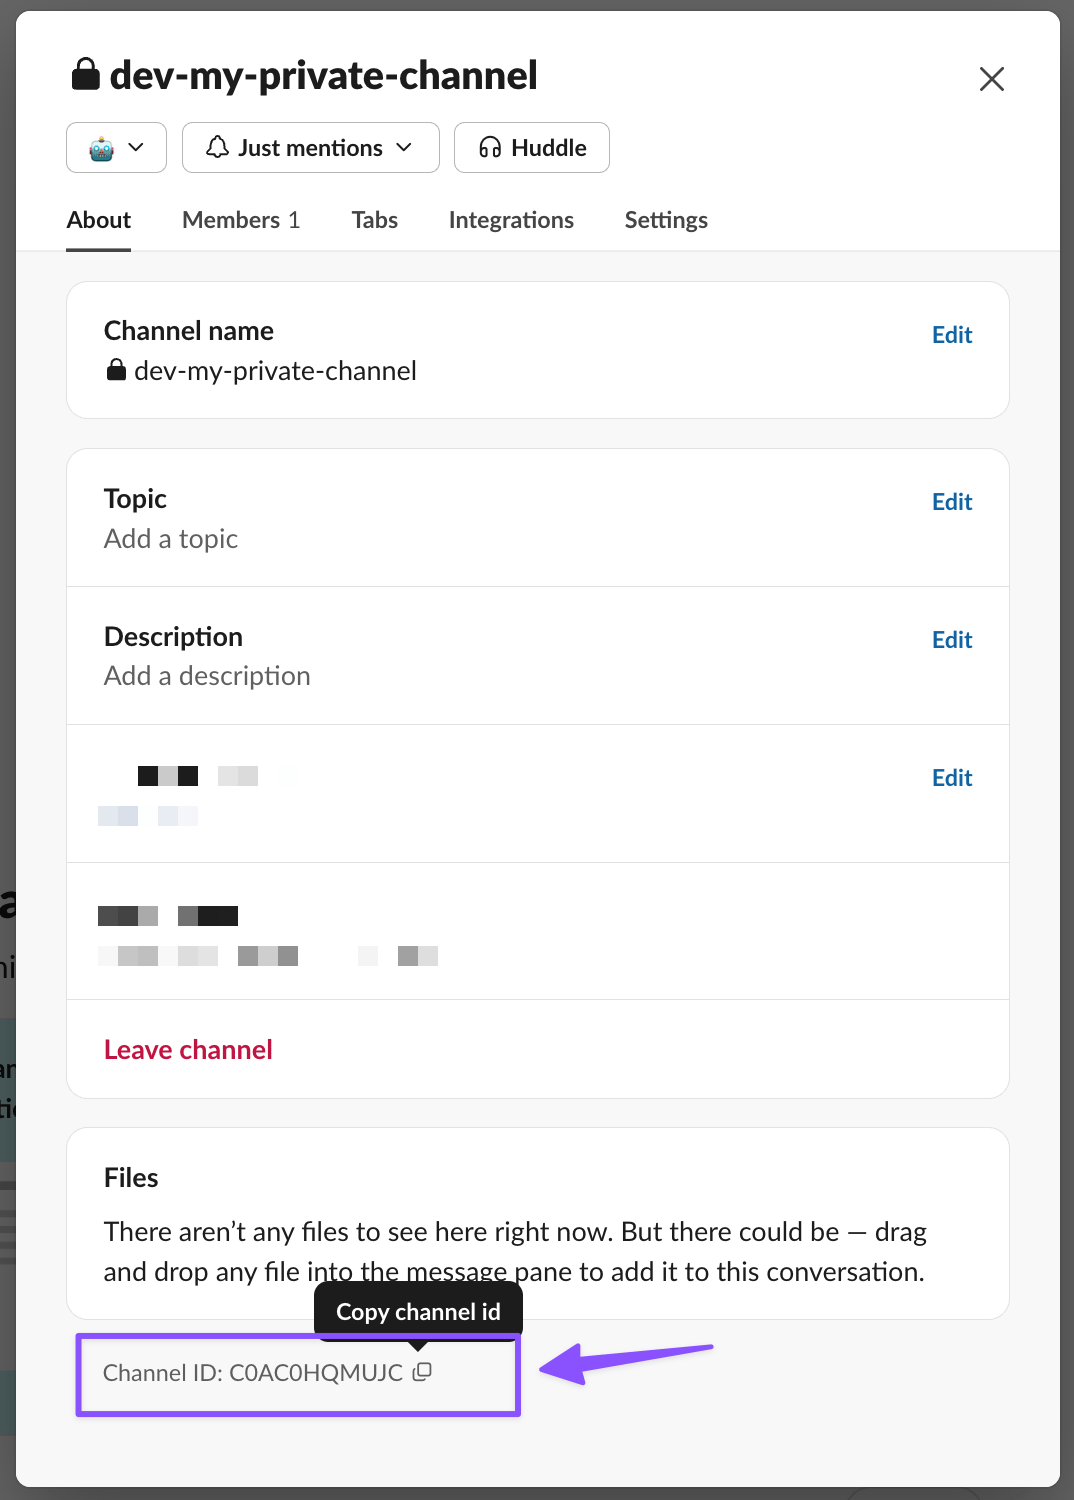
- Looking up the channel by ID — in Slack, right-click the channel name, select View channel details, and copy the Channel ID from the bottom of the modal.

AI analyst agents
AI analyst agents use the Slack integration to chat with your data and build charts in Slack. Once you have access to AI analysts, give them access to Slack threads in your integration settings. Trigger a response by mentioning the Lightdash app in your message. There’s a single Lightdash app to mention — you don’t specify a particular agent. Lightdash routes your question to the most appropriate agent, and prompts you to choose if it’s unclear.When you mention the agent, it only reads the text of that Slack message, plus the thread’s history when AI Agents thread access consent is on. It doesn’t see images, screenshots, or files attached to the message, and it doesn’t fetch the content of links to other Slack threads. To give the agent a document, CSV, or table, attach it in the Lightdash composer instead, or paste the figures as text in your Slack message.